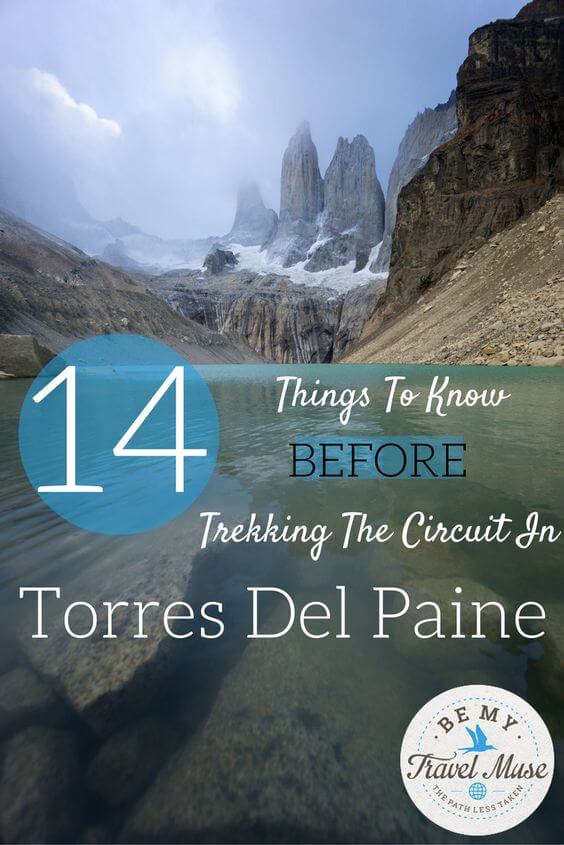
Torres del Paine in Chile is the cherry on top of the Patagonia experience for most hikers. It’s hard to top the ice field, horn and tower-like rock formations, and the ever changing landscape from day to day of the trek.
I’ve hiked the O Circuit in Torres del Paine twice now, and have led/organized trips there for 3 groups of women. It’s one of my favorites in the world for the physical challenges, the harsh but stunning landscape, and the number of ‘wow!’ moments.
Trekking in Torres del Paine is different than anywhere else in the world. You can pretty much count on very strong winds, rain, mud, and sometimes even snow. It sounds extreme but with the proper gear and preparation it’s a lot easier to enjoy it. These are a few things to know before taking on the O Circuit trek:
1. There are Several Starting Points (But Just One Direction)
The bus that brings you to the park will stop at the headquarters where you pick up your permits and sign in. Next there will be several other buses that make several stops, including the Welcome Center and the Hotel Las Torres, where I started. You can also get off on the last stop and do the Q trek, or take a boat to the Grey Glacier and start from there.
There’s no right or wrong place to start. Personally, I knew that I wanted to do the entire O trek and preferred to finish with the Torres, so I started at the Welcome Center. If you’re unsure whether or not you want to do the whole thing and want to test the W (the shorter trek) first, you can get the boat over and hike to Refugio Grey.
But if you’re toying with doing the full O Circuit, you really should!
Also keep in mind that if you’re hiking the O you can only go in a counterclockwise direction, whereas those on the W can go both ways. If you’re doing the O, or just considering it, make sure you’re going counterclockwise.
2. In Case You’re on the Fence about Going for the Full O Circuit
By tacking on another three days in Torres del Paine you gain several things:
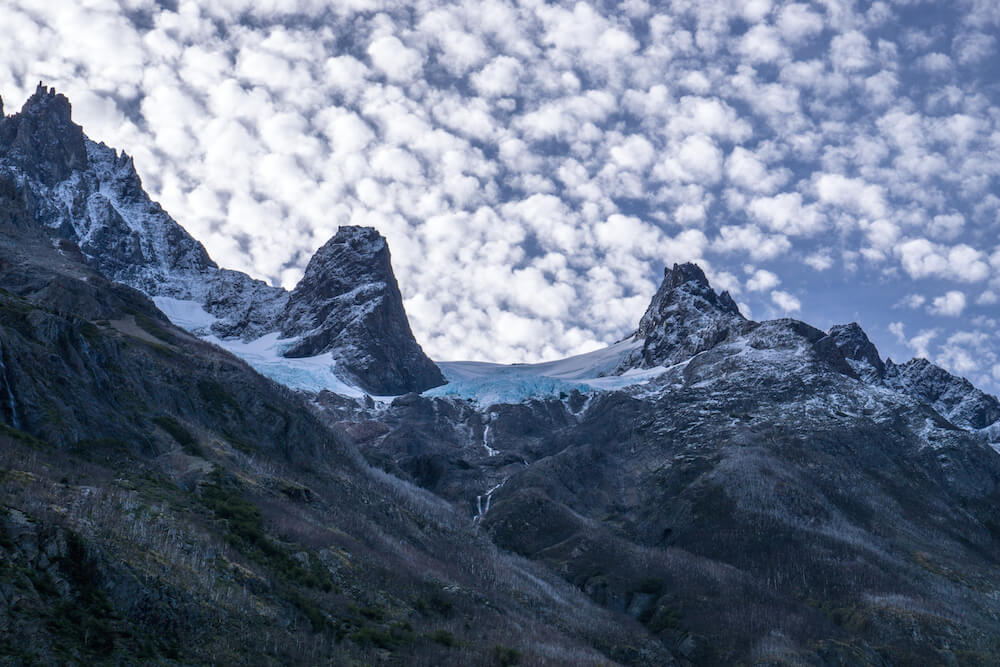
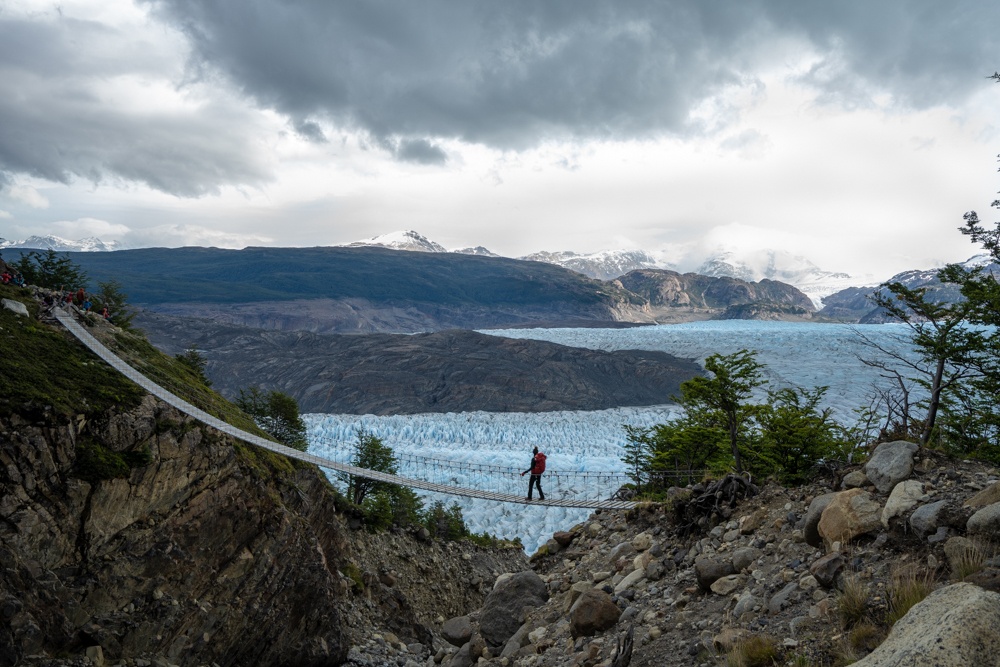
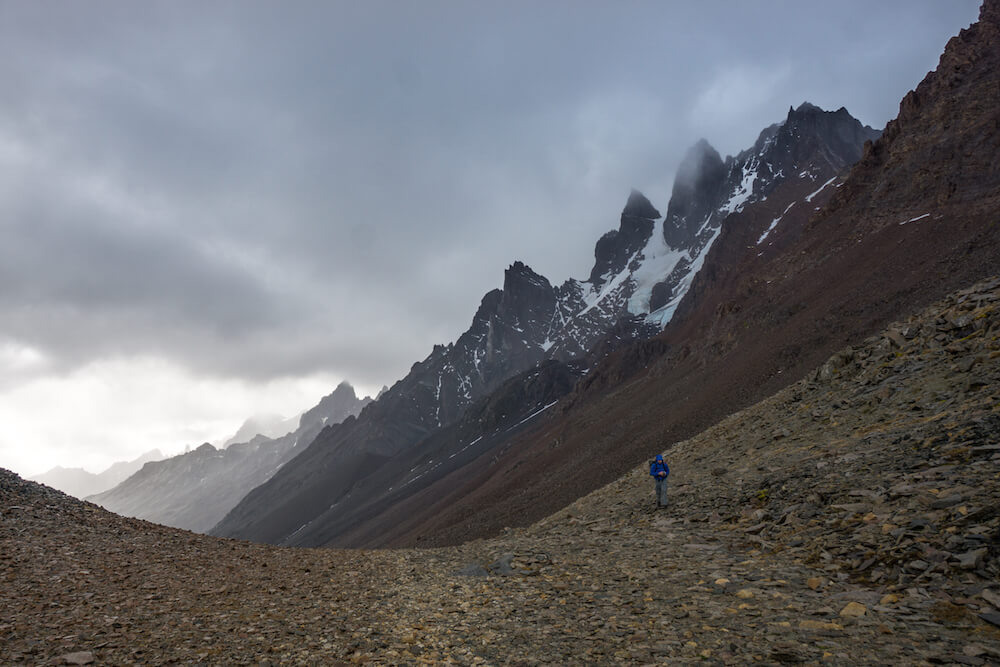
Some of the most beautiful parts of the trail are on the part of the trail that the W doesn’t cover. Some say it’s even the best part of the whole trek. Yes, you have to get over the John Gardner Pass, but the reward of hiking next to the Southern Patagonian Ice Field all day is so worth it. You’ll get views that most people who visit the park don’t see.
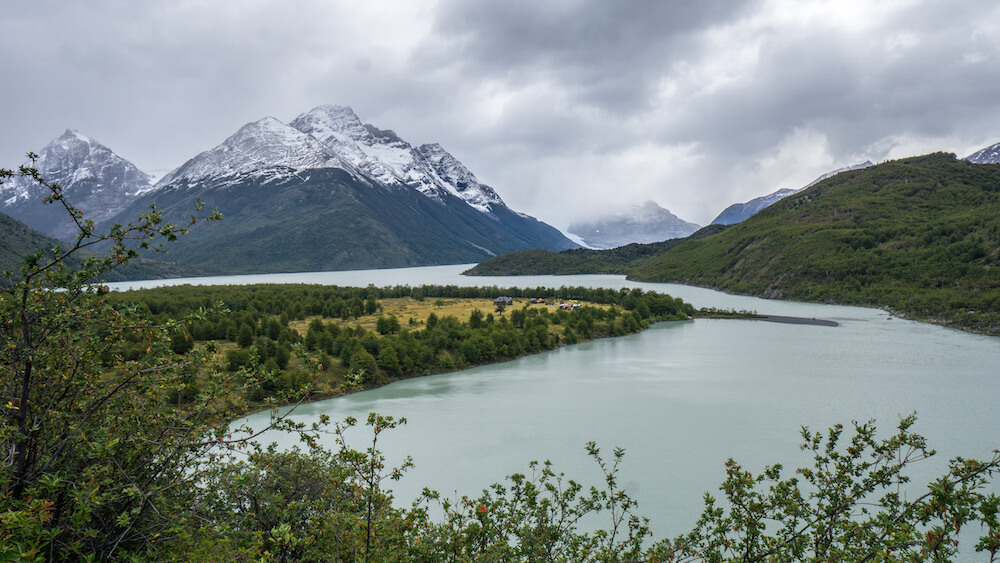
The trail is much less crowded on the back end of the park, and the refugios have a more intimate feel.
The camaraderie with the other hikers is easier to come by because there are fewer people on the trail. You tend to meet each other, talk, hang out, and get to know each other before joining the masses on the W.
Convinced yet? Don’t worry, you can do it!
3. You Must Book Ahead of Time
Torres del Paine has increased in popularity by 30% year over year. If hiking during high season, you’ll need a permit and to book camping spots ahead of time, which you can do in town or on Fantastico Sur and Vertice Patagonia.
This wasn’t necessary when I went at the end of March but in January and February, definitely look into it.
4. Refugio, Rented Tent, or Backpack?
When booking your campsites you’ll have the option to just reserve a spot where you’d pitch your own tent, a place in a refugio, which are limited, or tents that are already pitched for you. The last option is typically a package deal that also includes all of your meals. Which should you go for?
If you have the budget, the tent rentals provide the best flexibility. This is what I liked about them:
- You’ll significantly lighten your load without having to carry food, camping, or cooking equipment.
- You don’t have to set up the tents, and they’re generally nice and big.
- The sleeping bags were actually pretty clean and comfy.
- The food is pretty good at most of the refugios, though some were much better than others.
- If you opt for the fixed tent rentals rather than the refugios, you have more options for where to sleep, especially Los Perros, which is the closest camp to the John Gardner Pass. Otherwise it’s simply too much to attempt from Dickson to Grey in one day. It would be over 30km!
The biggest downside is the cost. If you bring your own gear, you’ll be paying about a quarter of the price. You can always opt to eat some of your meals in refugios to decrease your weight, but also keep in mind they will serve guests first, so it’s not always guaranteed that you can eat in every refugio.
5. Important Things to Pack
Backpacking in Patagonia comes with a unique set of challenges that other parts of the world aren’t as well known for. In Patagonia you can count on heavy winds, rain, and even snow. You’ll want to bring gear that can withstand the elements, particularly that super insane wind! Keep the following in mind:
Tents
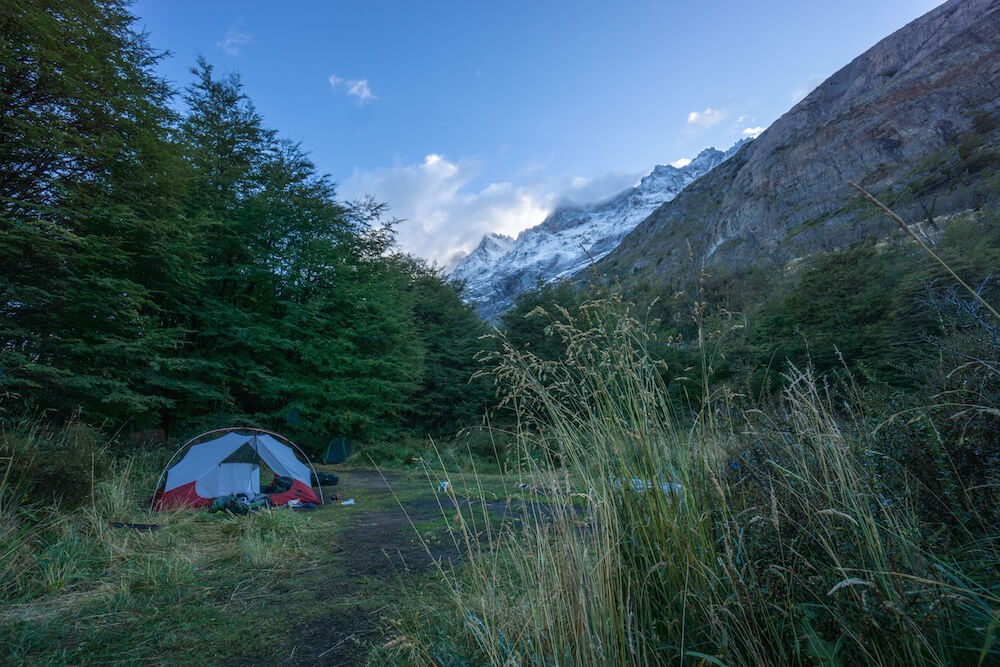
It’s tempting to bring a normal tent from home, I know, but a typical dome tent does not fare well in the wind in Patagonia. The last thing you want on an 8-day trek is to end up with a tent you can’t use, so get one that is good in heavy winds.
I used an MSR tent and it worked great. The key is the sturdy but light tent poles, which will hold up in the wind but won’t weigh you down tremendously. Every ounce counts when you have to carry 8 days worth of provisions!
Insurance
Get travel insurance that covers hiking. This basic package covers hiking under 3000 meters (this trek is definitely under that). There is no search and rescue in the park, and this will cover you if you need extra help getting out should you experience an injury.
Shoes
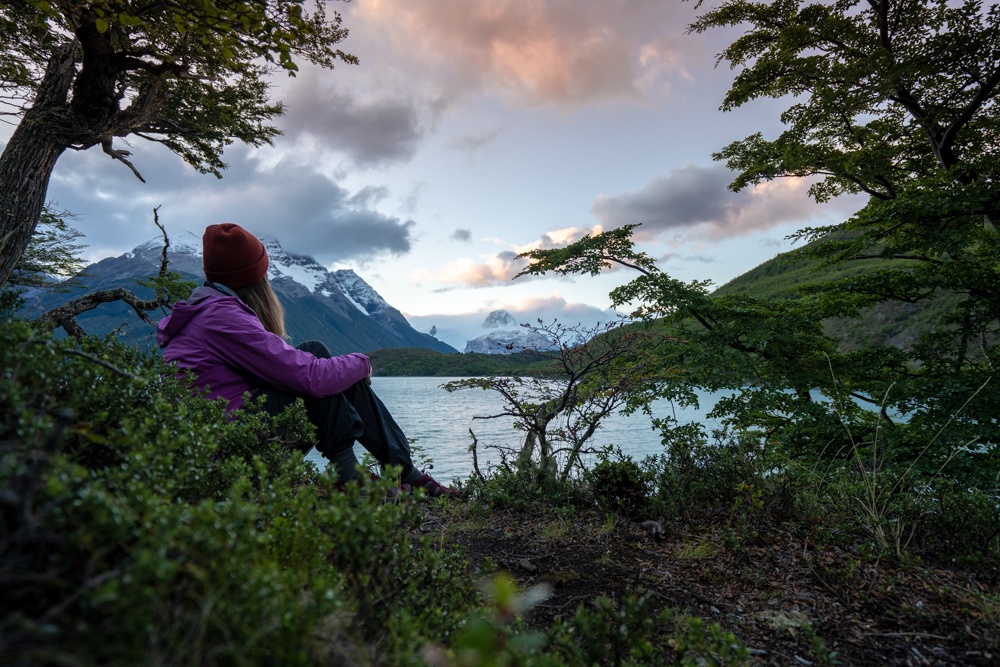 Don’t believe anyone who tells you that running shoes are just fine to use in Torres del Paine. The trail is very muddy and rocky, and some ankle protection plus a waterproof shell are both important to keeping you dry and blister-free. Remember to lace them up tight and get some nice thick socks as well! This is the pair of boots that I recommend and these are the socks I suggest.
*If you do get blisters, Compeed is a really helpful blister bandage. It’s sweat-proof, so each one can last a couple of days.
Hiking Poles
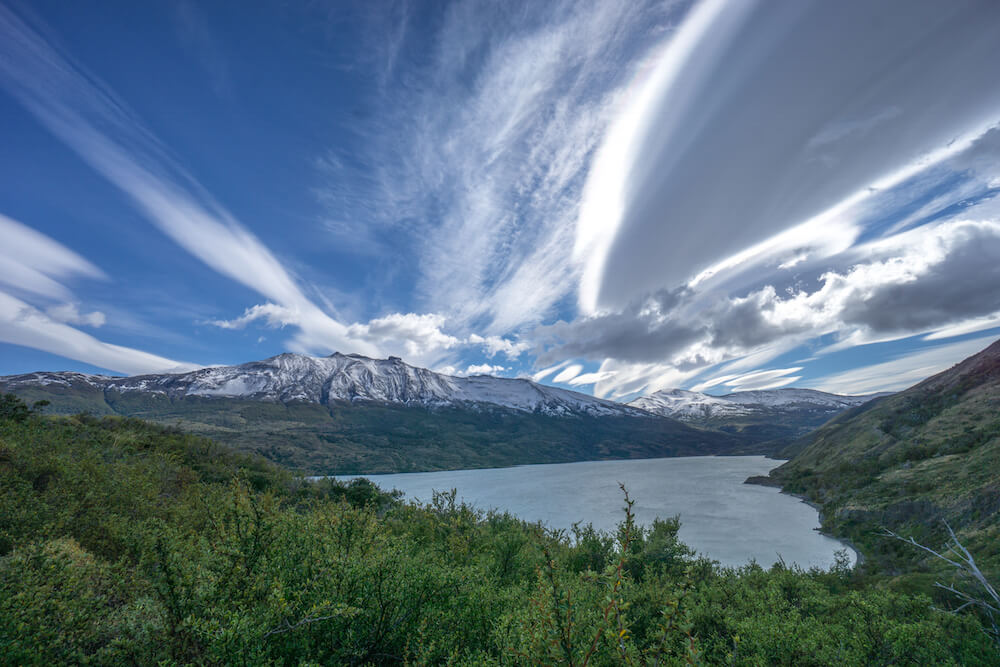
The wind on two days of the trek in Patagonia literally lifted me up and slammed me forward, it was so strong. My hiking poles saved my face by helping me with balance. They also help tremendously for going downhill, especially if your knees tend to bother you on long hikes, or if this is the first one you’re attempting.
Like with the tent poles, sturdy but light ones are great to have along. Cheap ones break quickly. These are the ones I used.
Waterproof Your Backpack
A rain cover isn’t very useful in Patagonia. Due to the wind, they either blow right off or make tons of noise in your ears as the wind runs through them. Since the wind seriously does reach 100km/hour and over, they can blow right off and then become litter in the park. Nobody wants that!
The solution is to line your backpack with a bin liner/trash bag and to wrap everything inside in its own bag as well.
It’s okay if the backpack gets wet. It’ll dry out in the wind and they’re made to be resilient. The stuff inside will stay dry with the double bag protection. Happy days!
What Should You Eat?
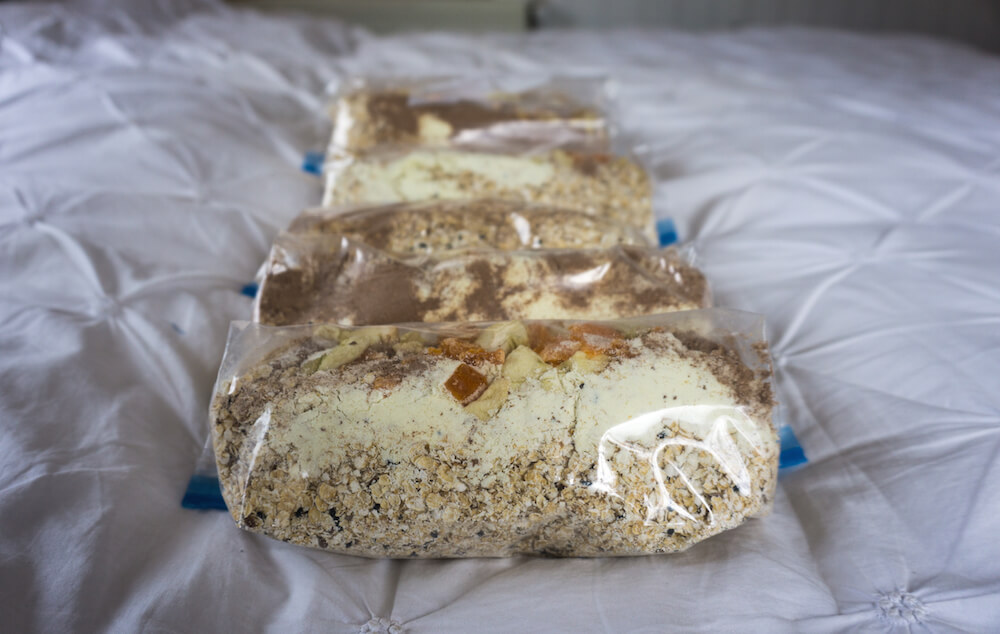
All the powdered food!
I know that’s not very exciting, but in all seriousness, cans, packaged sauces, and anything that creates a lot of waste will be heavy and annoying on the trail. Food is the heaviest item on an 8-day trek, so it’s essential to cut weight wherever possible. There’s so much water available everywhere along the trail, flowing from every glacier and stream, so buying things that just need to be rehydrated works best.
It’s also helpful to pack lunches that don’t need to be cooked that you can snack on while moving or during short breaks. I’d suggest fruit and nuts. They pack lots of energy and calories for their weight.
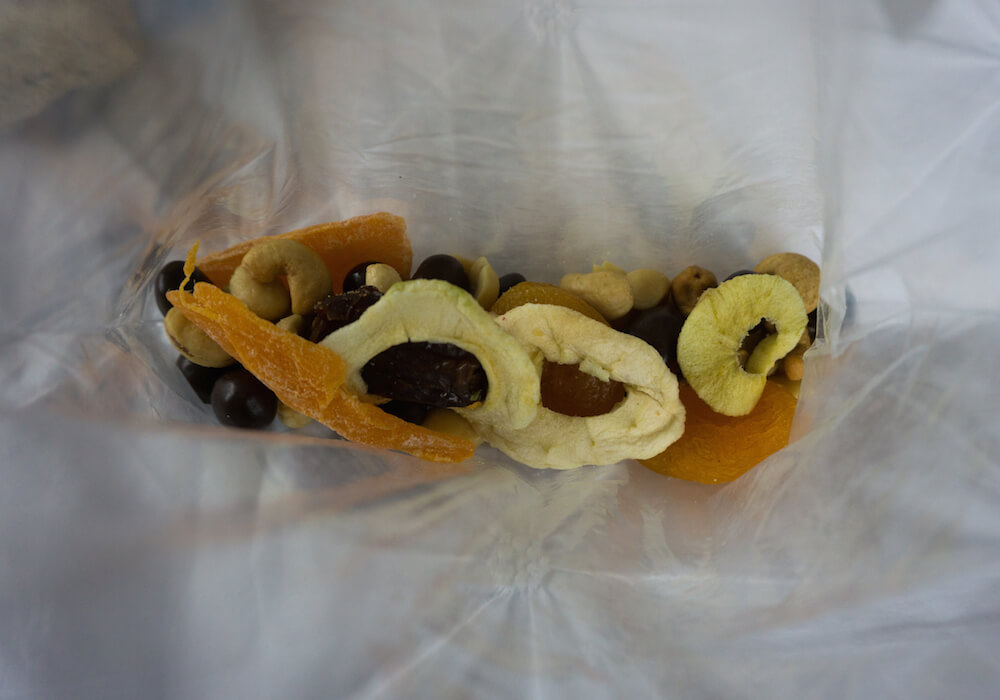
Here’s my food list for 8 days (consider that portions depend on your personal food intake, and keep in mind you’ll be exercising a lot):
- 1 portion per day of oatmeal with powdered milk, milo, and dried fruit inside
- 16 bags of tea
- 2-3 kilos of nuts and dried fruit for lunches
- 16 Snickers bars (oh yeah I did)
- 150 grams of pasta, couscous, or powdered mashed potatoes for dinner per night +1 emergency pasta (just in case)
- 8 packets of dried soup + dried pasta sauce (tomato soup also works)
- Small amounts of cheese or salami to flavor pasta (or herbs and dried veggies, if you can find them, if you’re plant-based)
You can buy all of the food you’ll need in the shops in Puerto Natales. I urge you to shop at the small, independent grocers and split your shopping between a few stores. There’s even a dedicated fruit and nut shop with dried mango and melon!
6. What Else to Bring (and How to Lighten Your Load)
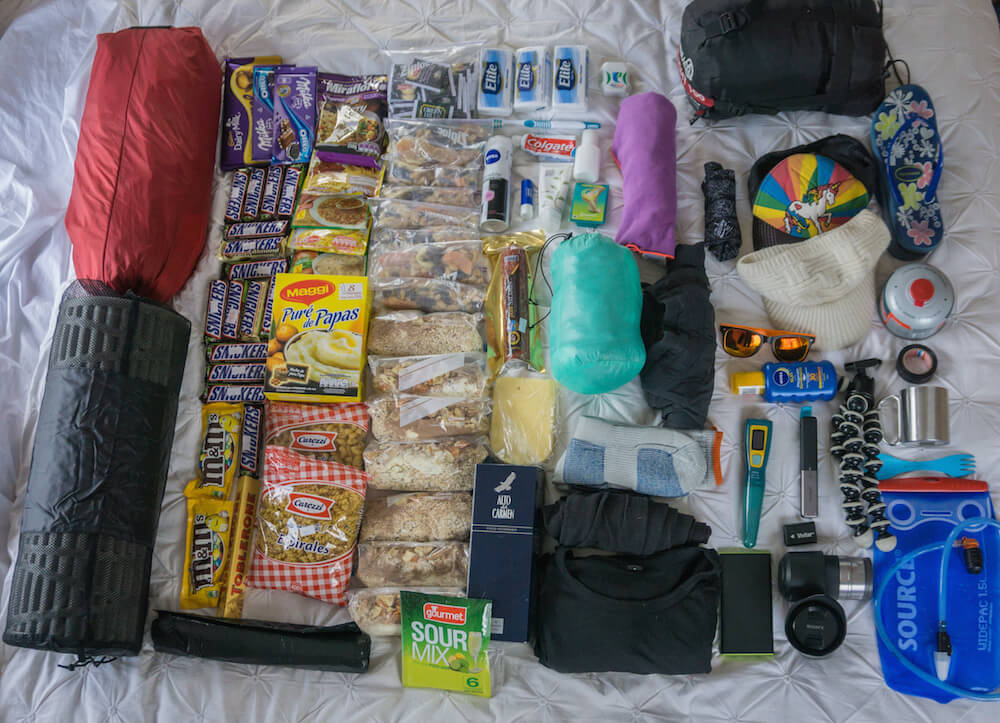
So what else goes into your pack? Chances are 80% of it will be full with food, and I’d also bring along:
- 1 small first-aid kit
- Only 2 changes of clothes – one for hiking and one for sleeping (yes you will wear the same nasty hiking clothes each day – there’s no point in bringing more clothing because the new stuff will get sweaty and smelly within the first five minutes of your hike anyways). However bring one extra pair of socks and enough underwear for the trip.
- 1 small and lightweight sleeping bag. These can get costly, I know! But you will want something that doesn’t weigh much and can keep you warm in sub-zero temps, which you might encounter on the trek.
- 1 SteriPEN – the amount of park visitors has been increasing by 30% year over year. People don’t always respect the rules around water (i.e.: no bathing or washing directly in the streams) and some people have gotten sick from the water at Campamento Torres. You can avoid any issues by sterilizing your water.
- 1 thick sleeping mat
- 2-3 gas canisters for cooking with the small grill on top (dependent on how much tea you’ll drink or if you bring rice or longer-cooking foods)
- 1 foldable, lightweight pasta strainer and pot combo
- A good knife
- 1 pack towel
- 1 hat for sun protection and to keep your ears warm
- sunglasses
- Camp shoes to give your feet a break from hiking shoes when in camp
- 1 headlamp
- 1 battery power pack
- Something to put water in. I chose a CamelBak.
- Small toiletries and sunscreen!
I also brought along my camera, of course, and several extra camera batteries. You can find out more about my camera equipment here.
You can lighten your load by eating at some of the refugios. The food is great at Refugio Dickson, in particular.
You can also buy some supplies as you go along. Don’t count on it, but know that it’s often possible to get more food and snacks if necessary.
7. Bathrooms and Showers
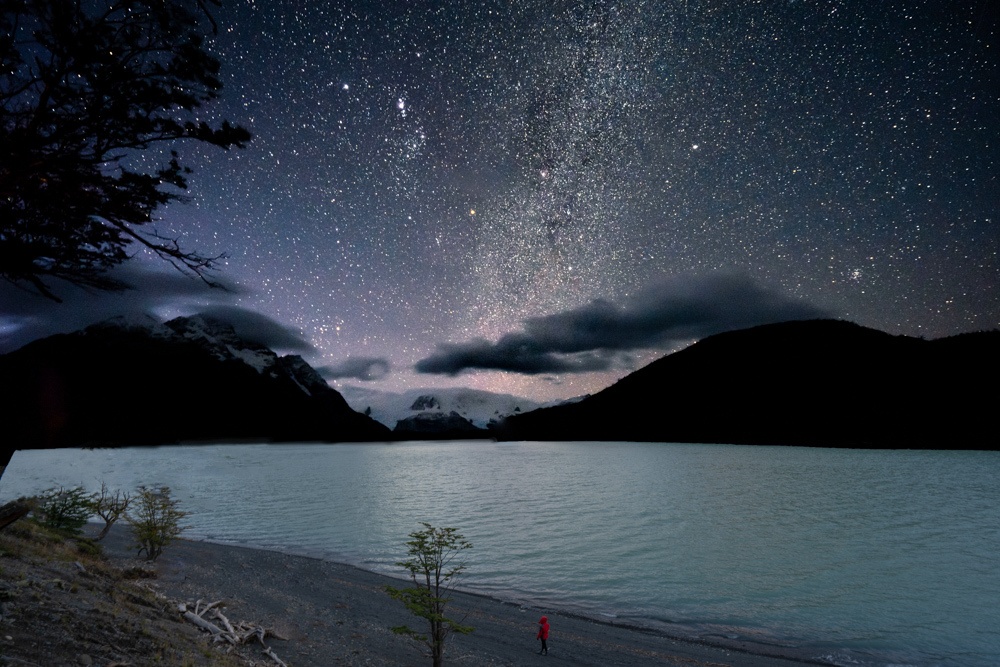 Some camps have nice, hot showers that you can use along the trek. It’s much easier to get some shower time in the less crowded camps that are not part of the W, though some of the larger refugios on the W part have more bathroom options.
I’ve seen a huge difference in the size of the refugios and availability of restrooms and showers since the first time I did the trek. Everything is growing and the facilities are only getting better. My absolute favorite shower was at Frances, and the worst is still Los Perros, which is cold and not worth it!
The free camps don’t have amenities like showers and sometimes don’t have toilets that flush, but they’re typically in really beautiful settings (and they’re free!).
8. How to Pace Yourself/Itinerary Planning
How many days should you spend on the trail? How long will it take you to complete? I’ve done it two ways, spending 8 days hiking and 9 days. In both cases, the day that I crossed the John Gardner Pass was the longest, most exhausting day. The big difference between the two was splitting up the day that followed into two the second time around.
The days on the back end of the O are pretty long, and you never really know what kind of weather you may get, so a buffer can be a good idea just in case. I personally am always happy to spend more time in nature, but if you’re pressed for time, you can do it all in 8 days.
I have a day-to-day itinerary here! You can also download the PDF below:

9. Leaving No Trace
We can’t talk about backpacking in the wilderness without discussing leaving no trace. The biggest issue right now in Torres del Paine is erosion of the trails. It may not seem like a big deal, but ‘social trails’ left by people trying to avoid mud can cause irreparable damage. Unless I’m going to get totally soaked or covered in mud, I step right in the mud and keep going. My shoes are waterproof so it’s no problem, right?
The water in Patagonia is some of the cleanest in the world, yet some camps have had to close down due to sanitation issues. Why does this happen? Please keep the following in mind to do your part:
- Never wash dishes, clothes, or yourself in rivers. It has to flow to somewhere, right? Take water at least 200 feet/61 meters away first.
- Please only use the bathrooms on the trail unless it’s an absolute emergency, and always pack out your TP.
- Don’t swim in the rivers or lakes. It’s prohibited in Torres del Paine.
10. Avoiding Crowds at Las Torres
The Towers are the park’s most popular feature. Most day hikers who are only going to see one thing in the park hike to The Towers. Given that, it can be hard to see them without a crowd of other people, so here are some tips:
Go twice and at off-times:
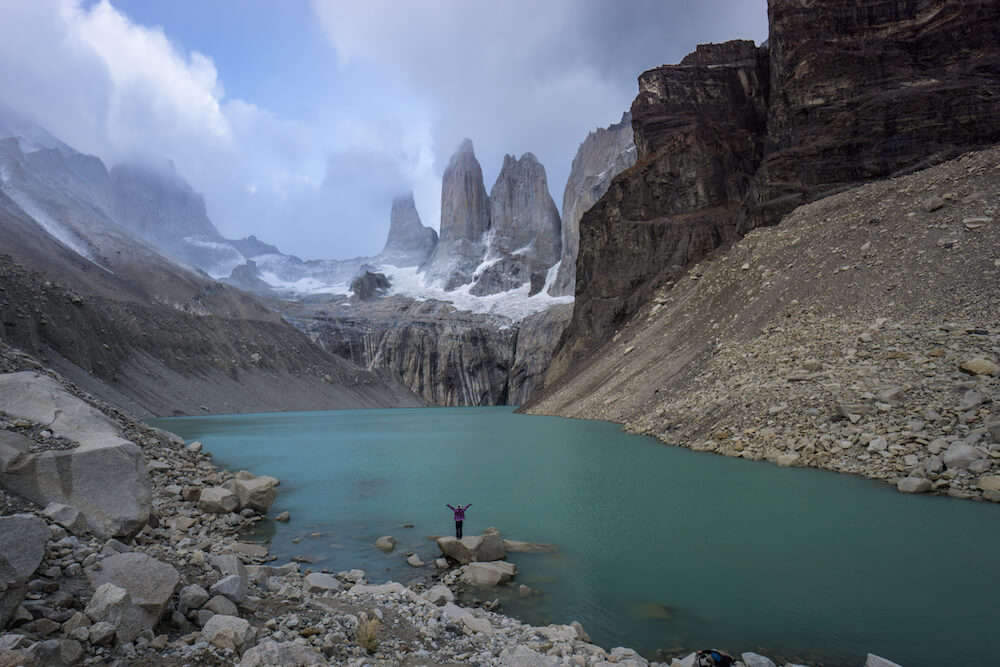
I know that you might think I’m crazy for suggesting this, especially after the long hike to get to the camp at the base of the Torres, but it’s so worth climbing up to the top twice if you have time – once in the afternoon and once in the morning for sunrise. If you can’t get reservations at Chileno for the final night, you may not have much of a choice. Nobody is allowed to attempt to hike up after 3pm. This is to make sure nobody camps up there, which is fair TBH.
However if you run out of time, you can always make it back up for the morning from Campamento Central or Chileno.
My tip for avoiding the crowds is to go up while it’s still dark before the sun rises. However I would NOT recommend this alone and if you do decide to go, it’s best to go with someone who has already been up there. I led a group up to the top and it’s good that I already knew the way. When it’s dark all you have to go on are the reflective markers.
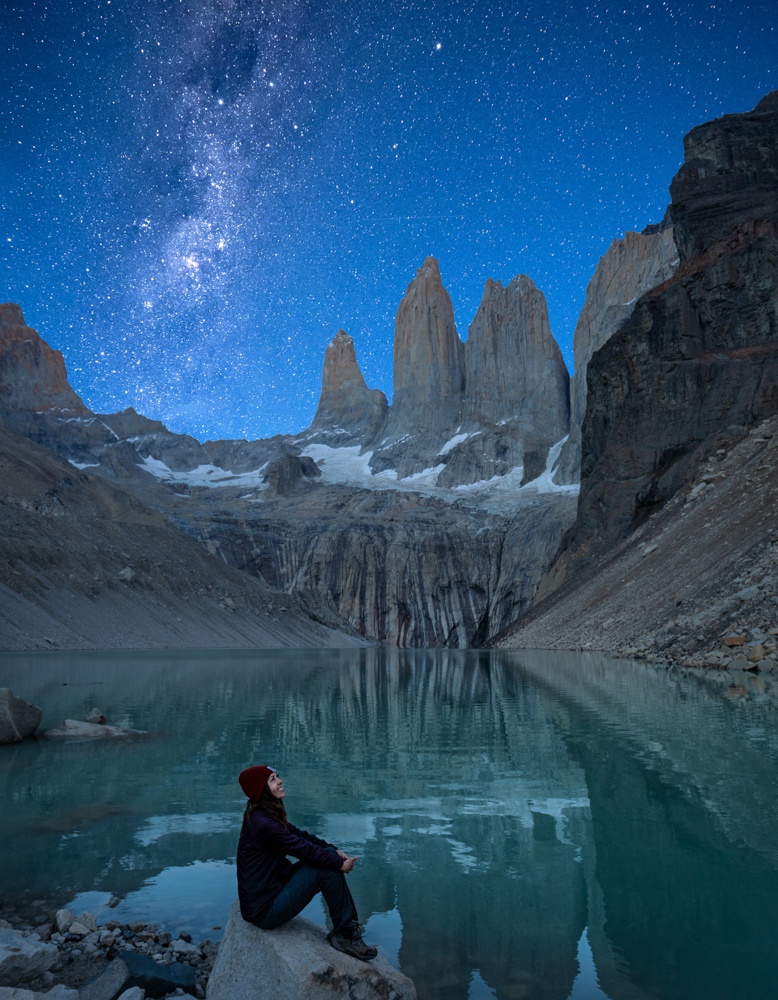
That said, we got to the top around 5am to see the Milky Way going right through The Towers and nobody was there yet. Most people show up throughout the day starting with the sunrise.
11. How Hard is the O Really?
It’s hard to rate the difficulty of a trek, since such things are subjective, but I’d say the O Circuit in Torres del Paine is a moderate trek. Some days are pretty long, however, and you’ll be on your feet for most of the day, which can be exhausting.
The hardest part for me is coming down from the John Gardner Pass since it’s such a long and steep downhill. Others also feel that the Torres are a tough ending as well.
It takes about 30-45 minutes to climb to the base of the Torres from the Las Torres ranger station and about 2-3 hours from Chileno. It’s steep, but if you’ve already done Fitz Roy, I can assure you it’s not nearly as bad.
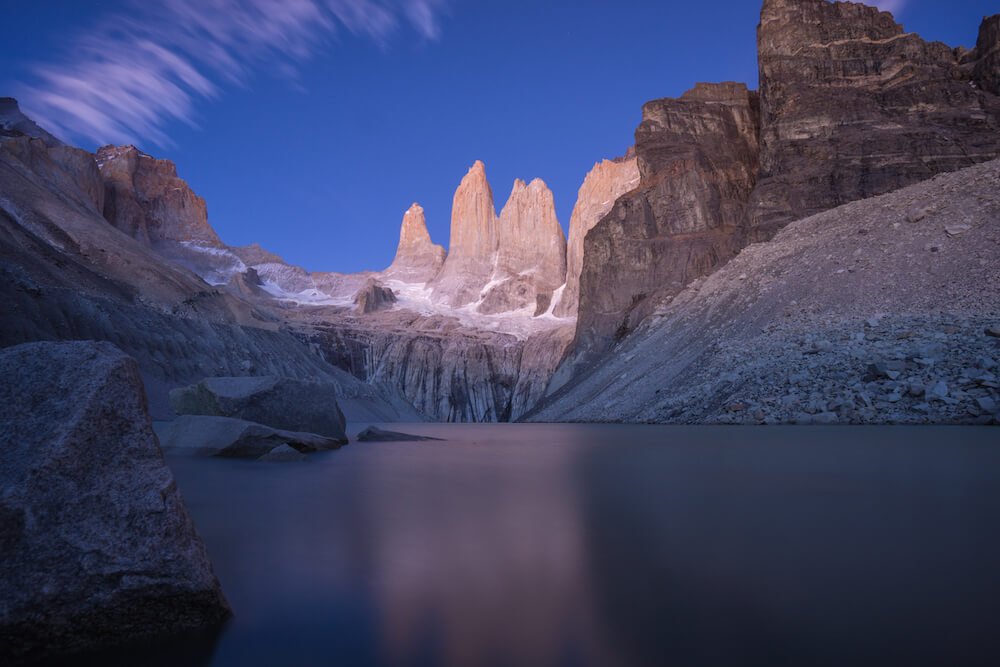
Besides, moving keeps you warm. It was snowing when I reached the base of the Torres in late March the first time!
12. Treat Yourself to More Days in the Park Afterwards
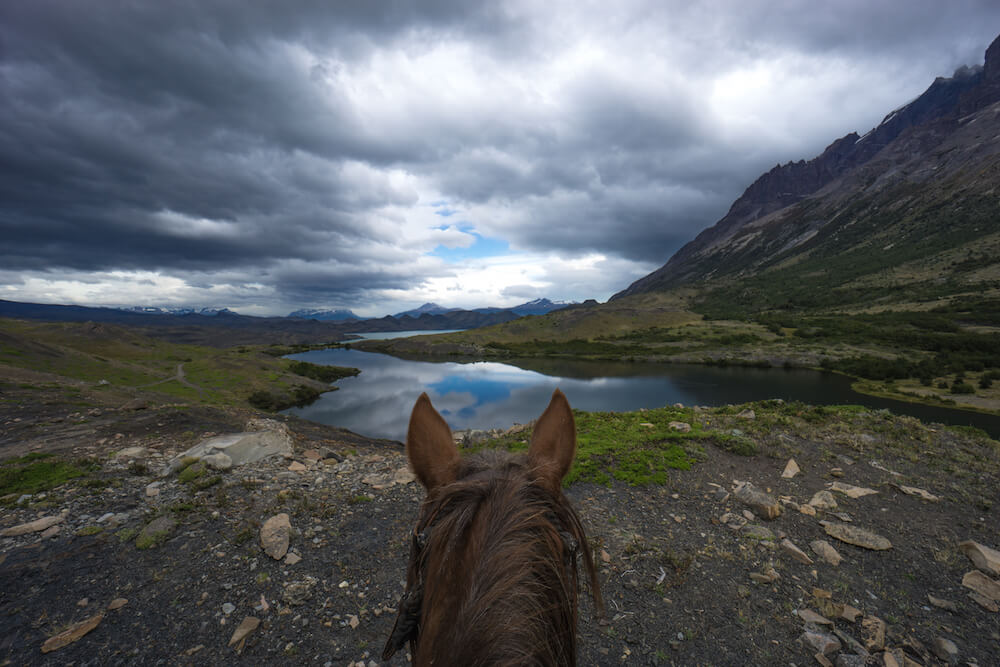
I stayed at the Hotel Las Torres in the park right after the trek both times I’ve done it now and it was the best decision ever. The food was great (it’s all-inclusive) as were the drinks and the activities. They even grow all of their own veggies in an organic garden, which is SO WELCOME after 8 days of trail food.
It’s so nice to stay somewhere comfortable for a few days after finishing an 8-day trek, and though this is definitely fancier than a tent, it’s a really welcome change. I also really liked that it included horseback riding and some treks that aren’t on the usual TDP menu (you can book a stay here).
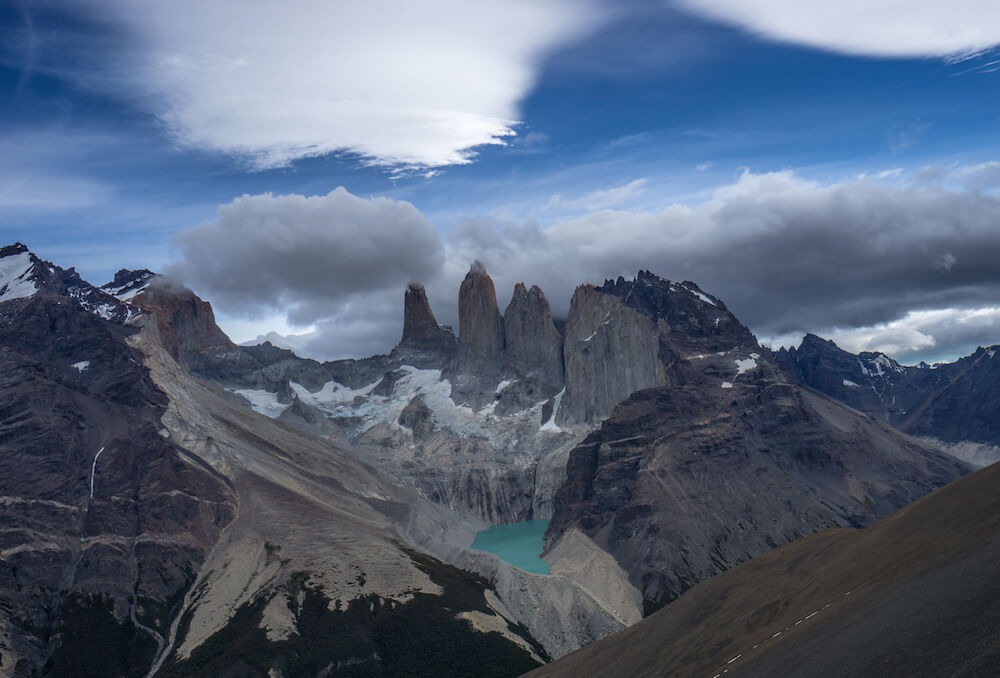
One huge benefit of staying at the Hotel Las Torres, apart from the comfort, is access to this amazing viewpoint.
It’s called the Puma trek and it sits on the hotel’s property. It’s also one of the steepest and toughest treks in the entire park. We went there the day after finishing the 8-day trek and I was definitely sore after!
13. Take a Full Paine Tour Afterwards
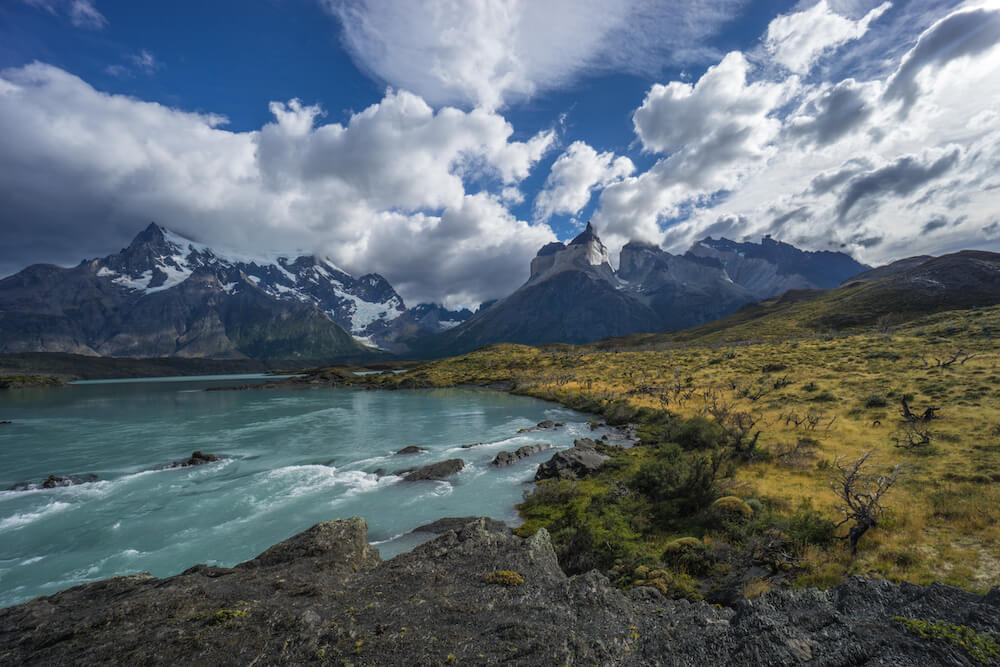 The day after the trek I’ve done a full Paine bus tour with the Hotel Las Torres twice now, and twice I loved it. There’s just no better way to see the parts of the experience you miss from the trail. There are so many different angles and views that you get by covering more ground with the tour, and it’s a nice chance to let your body take a break, too.
There are a lot of picturesque places in the park that you don’t see when trekking on the Circuit trails. The park is absolutely full of lakes of all colors, glaciers, different viewpoints, and even waterfalls.
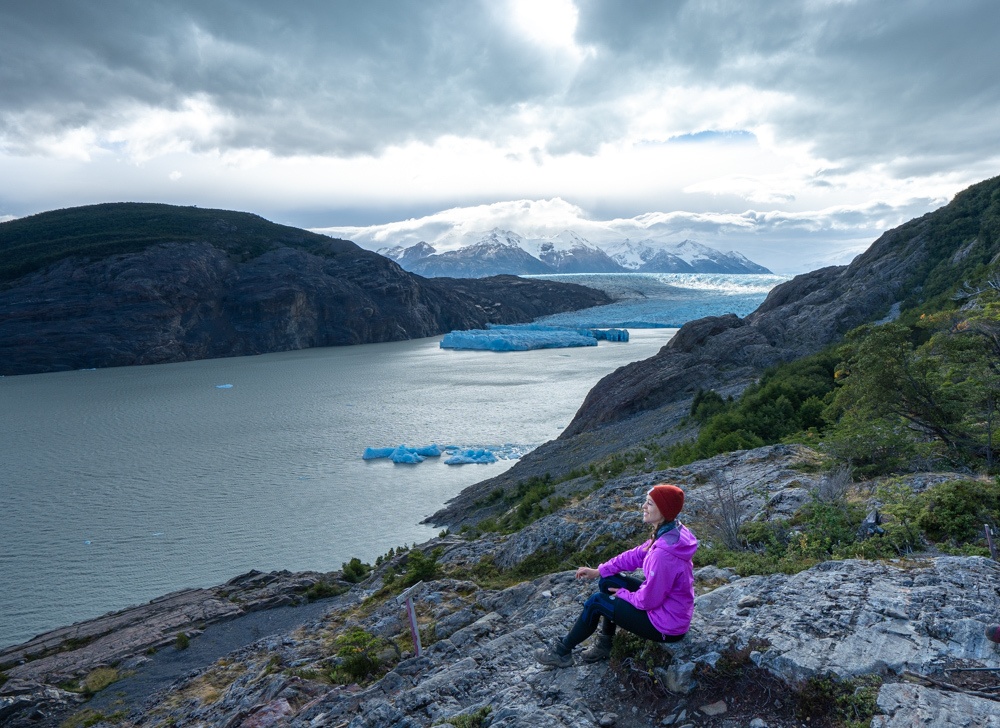
The full Paine tour also includes a boat trip to the Grey Glacier, for yet another great perspective.
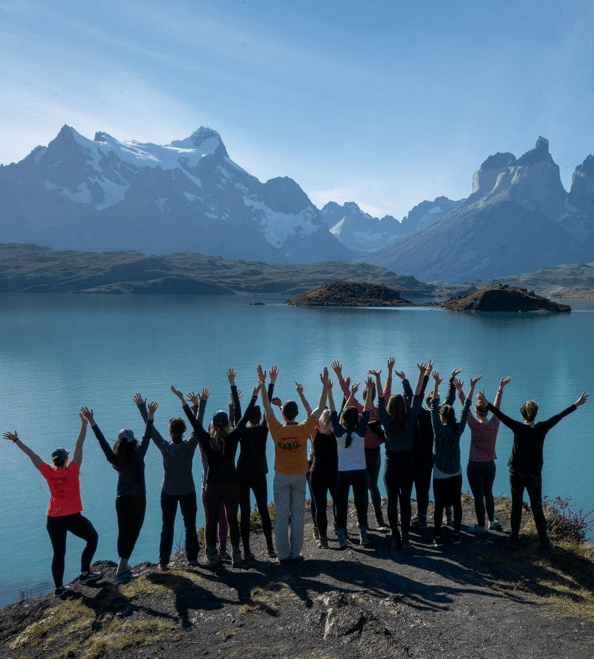
Most of this is accessible by car, so in lieu of renting one yourself and driving it through the park, you can take a day tour from Puerto Natales or in my case, as part of staying at the Hotel Las Torres.
Happy trekking!
Read More
The 10 Best Hikes in Patagonia
The Perfect Patagonia Packing List for Women
Patagonia Itineraries for 1 Week to 1 Month
*Some links in this post are affiliate links. Any purchase you make through these links gives me a small commission at no cost to you. This post was also brought to you in collaboration with the Hotel Las Torres. All reviews on this site are always sincere.
There has never been a better time to plan your next trip and make your Dream vacation a reality . Whether you've been dreaming of relaxing on a sun-kissed beach, exploring ancient cities, or embarking on an epic adventure, now is the perfect moment to make it happen.


