
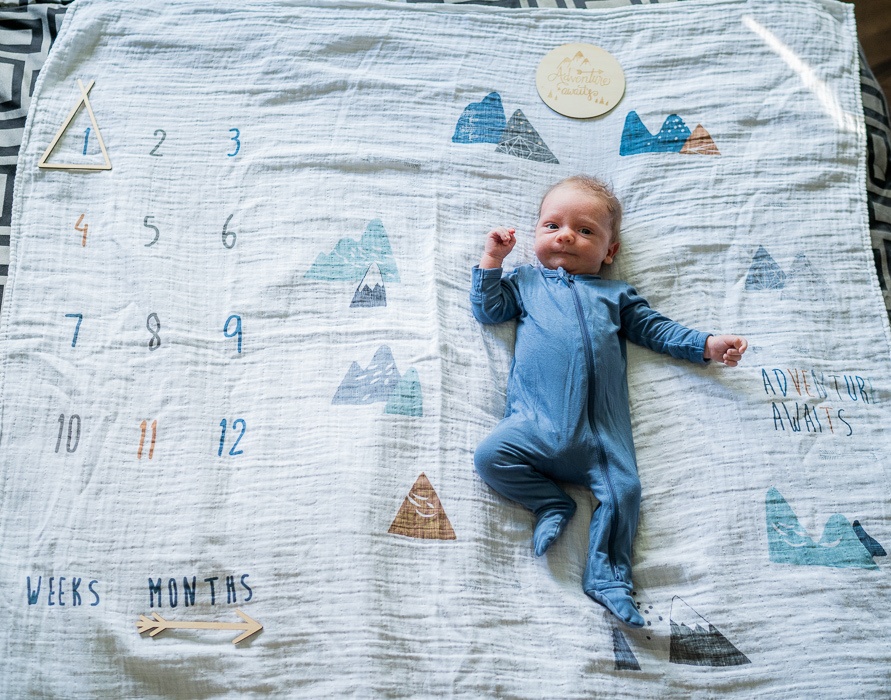
As soon as I found out I was pregnant, I knew that I wanted to show my baby the world. Step one for making that happen – apart from having the baby of course – was to get him a passport.
I’ve gotten passports for myself in the past and just took photos onsite, but how do you do that with a baby who can’t hold their head up yet, or might not be in the mood? Simple, just take them at home! Here’s how to do it:
Look at the Guidelines
If you’ve tried photographing your baby before, you know that it can be a labor of love. That goes double for getting the passport photos right. You must do the following:
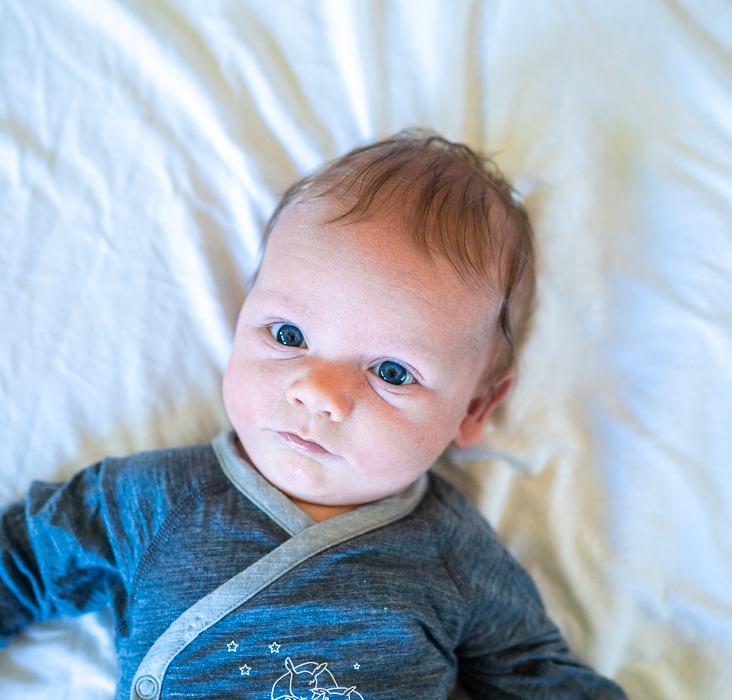
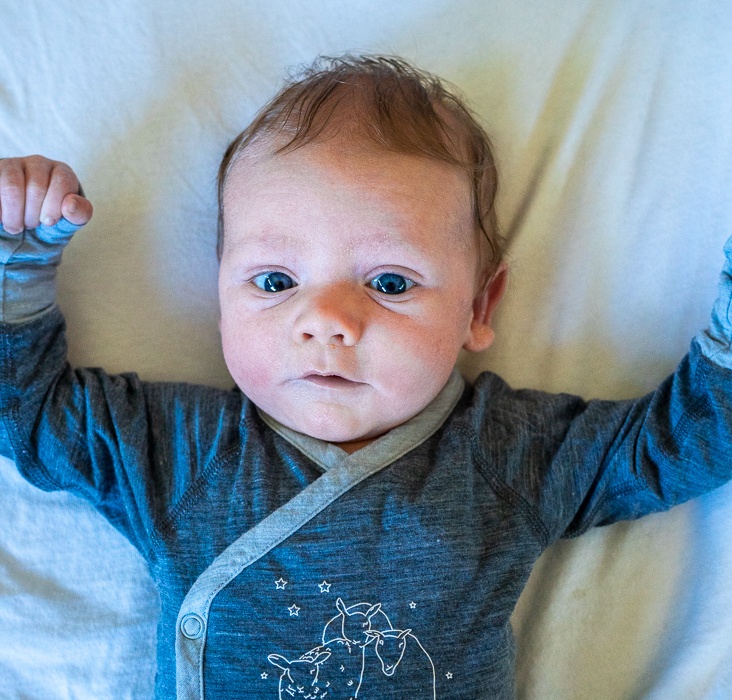
- Baby must be facing the camera without their head turned.
- Their expression must be neutral – no crying babies!
- Ideally they’ll be looking at the camera, though according to travel.state.gov, “it is acceptable if the infant’s eyes (particularly a newborn’s) are not, or are not entirely, open.”
- There cannot be any objects, including a pacifier or the infant’s hands, obscuring their face.
- Most importantly, you and/or your hands cannot be in the photo.
It takes time to get them looking at the camera with their head in the correct position. Since you can’t be in your baby’s passport photos, even if it’s just your hands to hold up their head, the best method is to lay them flat.
Photo Tips
You only need three ingredients for the passport photos:
- Camera (a decent phone one will do),
- White background,
- Ample natural light.
And a baby. I suppose that’s four ingredients.
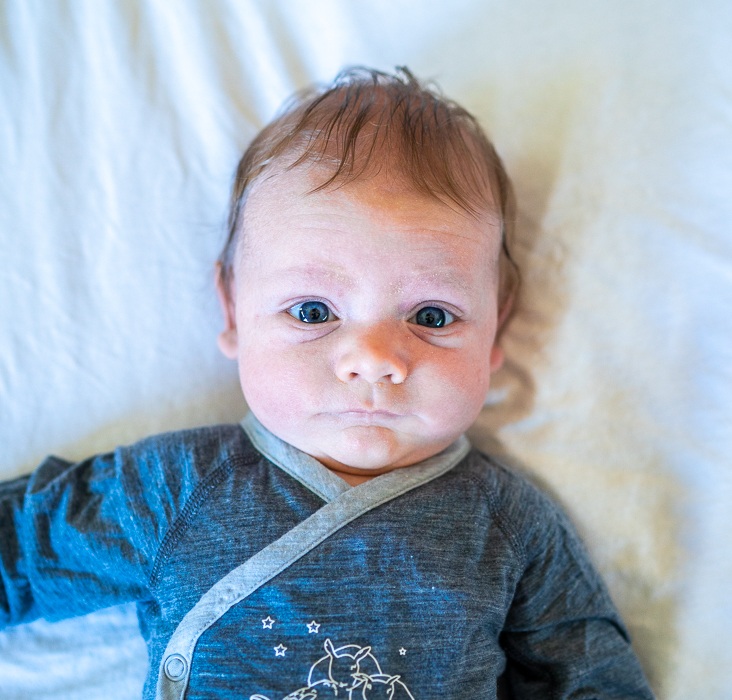
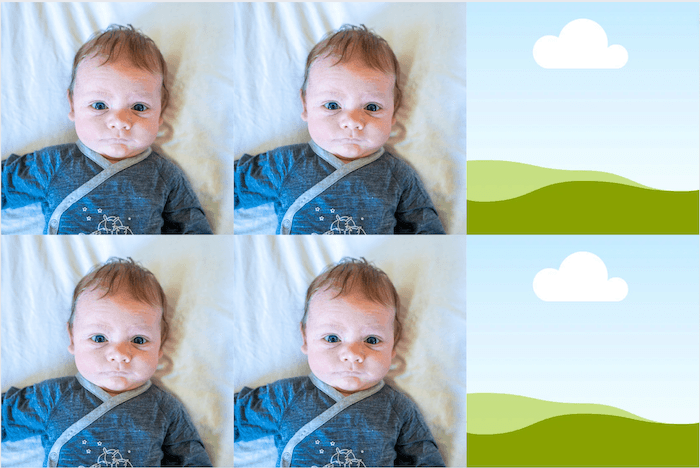
I took the photos midday in our bedroom, which has the most windows. Ideally have the baby top-lit with the top of their head facing the window rather than lit from the bottom, which will have a ~Halloween~ vibe. We don’t own white sheets, so I used a white T-shirt as the background, which we pulled taught for minimal shadows.
Carefully stand over your baby to take the photo, making sure that you follow the guidelines above. Leave space around their head and shoulders as well. I find it best to leave more space than you will need and then to crop the image later. Don’t add any filters or fancy editing.
It probably goes without saying, but this will all be easier if your little one is fed, changed, and happy.
Prepping the Photos
Before printing out the photos, make sure they’re the right size. Printed photos must be 2 x 2 inches (51 x 51 mm), and the head must be between 1 -1 3/8 inches (25 – 35 mm) from the bottom of the chin to the top of the head. Use this tool to verify you have it right.
Next I used Canva, a free online tool, to select a standard 4×6-inch photo. Navigate to the grid feature and choose a grid of six – three on top and three on the bottom. This will create a perfect set of 2 x 2-inch images. Download at the highest resolution and go to the next step.
Order the Photos for 40 Cents
For ease, I uploaded my photo to Walgreens.com and did a same day pickup. You can also have them shipped, but I wanted mine sooner and pickup is free. It was ready within an hour and only cost 40 cents. Rite Aid, Walmart, Costco, and online-based printers would also work.
Make Your Appointment
It’s important to make an appointment for a new passport for a minor rather than trying to walk in. Be on time or you might have to reschedule, as we learned the hard way. If you’re traveling within a few days, you can do so directly at a passport agency, which I have done in the past in Los Angeles. But to avoid that, or if you don’t live near one, it’s much easier to plan ahead and make an appointment at the post office.
You’ll need your baby’s official birth certificate in order to apply (they’ll mail it back with the passport) along with all of these documents. Both parents must also be present.
After that, it’s just a waiting game until you get your baby’s very first passport! Then the world is their oyster. Happy travels!
There has never been a better time to plan your next trip and make your Dream vacation a reality . Whether you've been dreaming of relaxing on a sun-kissed beach, exploring ancient cities, or embarking on an epic adventure, now is the perfect moment to make it happen.


")

