
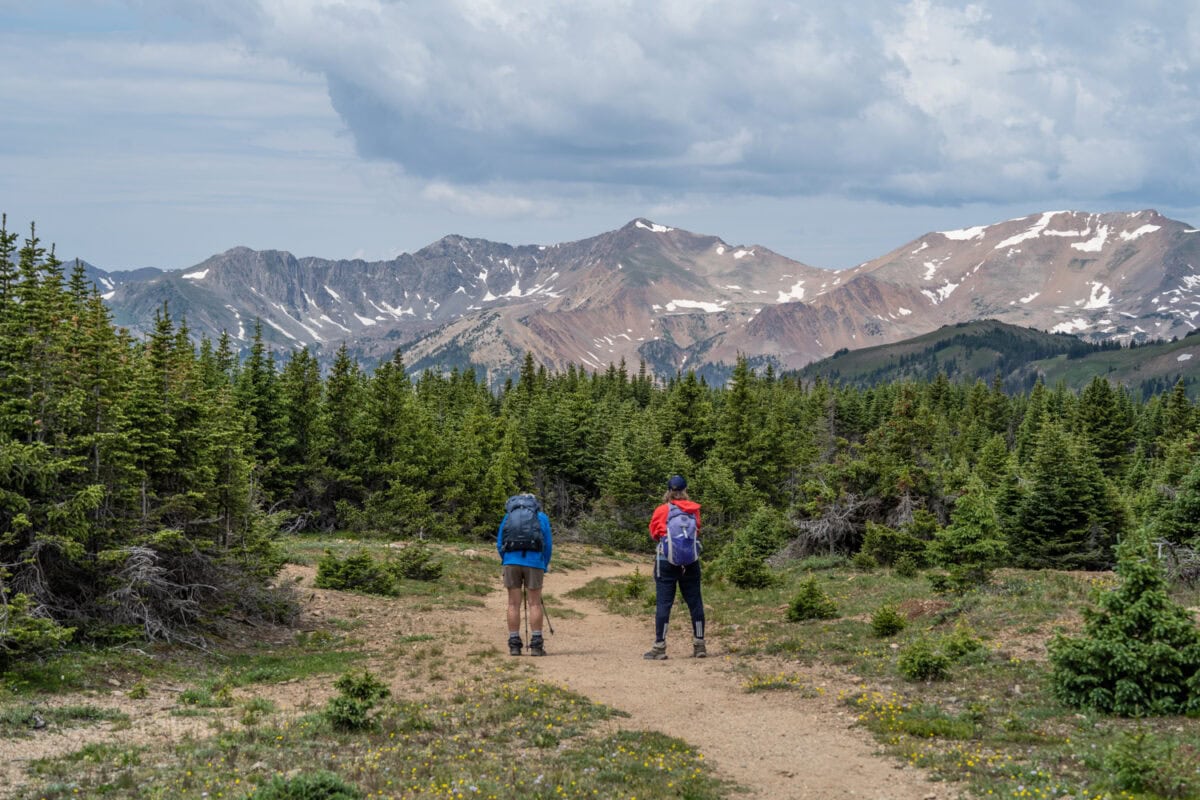
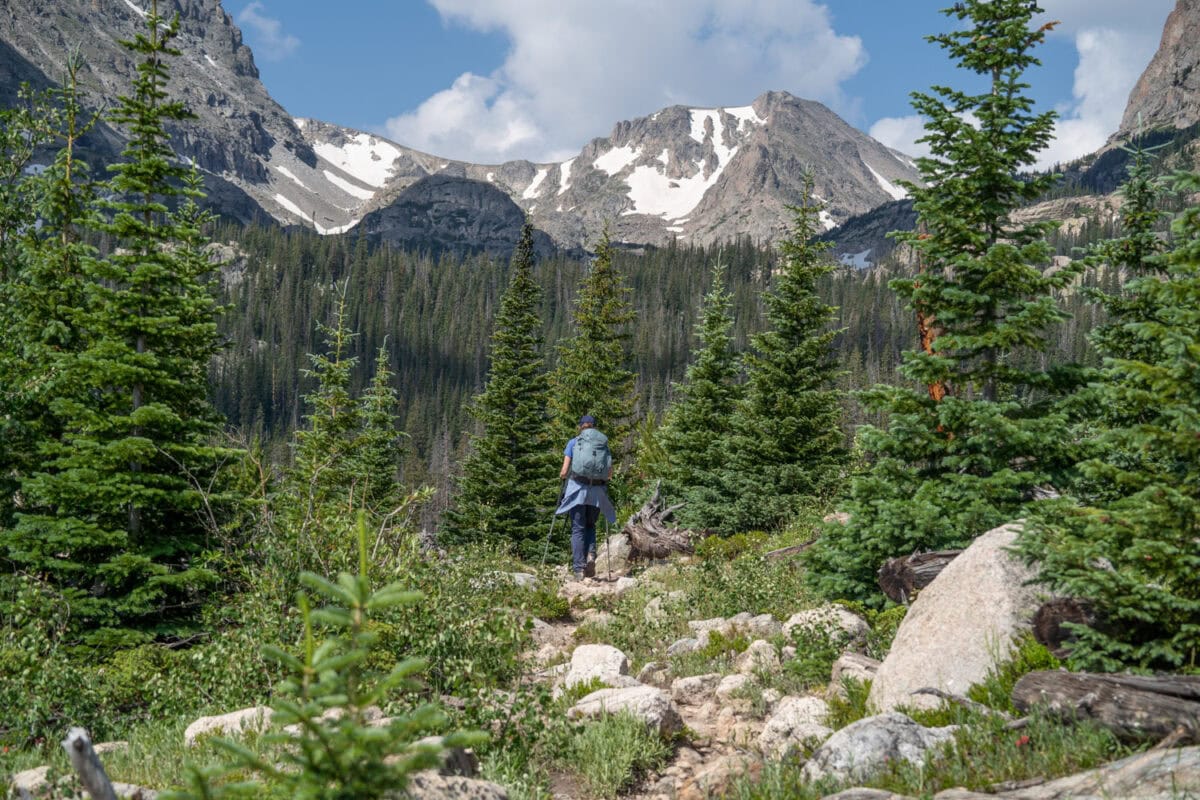
Looking to channel your inner mountain goat? Look no further than Rocky Mountain National Park! This place is a hiker’s paradise with over 350 miles of hiking trails. But beware—these aren’t your grandma’s Sunday strolls—these are rugged, rocky paths that will test your endurance and leave you breathless (both from the views and the altitude).
I’ve lived in Colorado for 7 years, and I’ve, of course, been to Rocky Mountain National Park before. However, I’ve never been there for more than 2 days, and most of the time, it was just a day trip and then back to Denver (LINK things to do in Denver). But this summer, I had the opportunity to spend 6 days hiking in Rocky Mountain National Park in what I like to call a ‘Near-cation’!
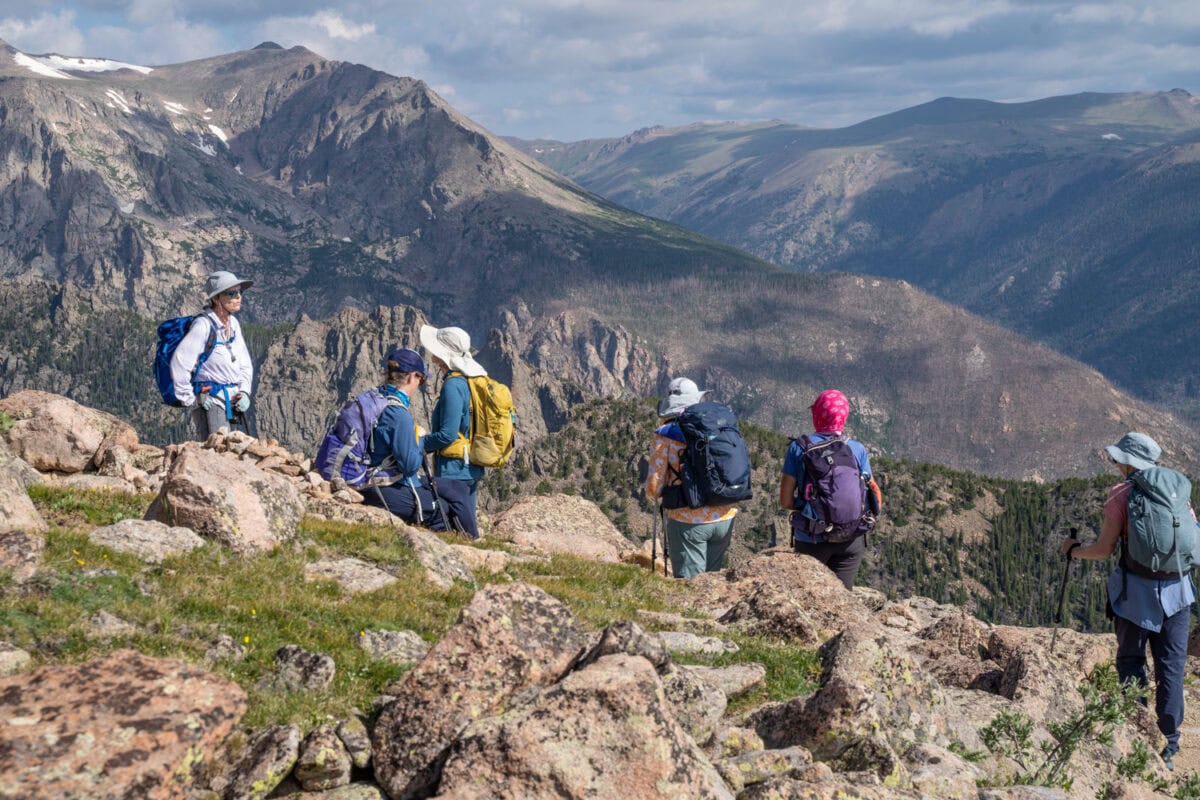
When Adventures in Good Company, a women’s adventure tour company, asked me to go on one of their trips, I decided that a week in Rocky Mountain National Park would be perfect for a summer near-cation. Their Peak Pursuits trip was their hardest difficulty level trip, covering 6 high-altitude hikes in 6 days and 50+ miles. I loved the idea of a challenge, and I was really excited to be introduced to the best hikes in Rocky Mountain National Park.
6 Hikes in Rocky Mountain National Park
These six hikes were planned with altitude acclimation in mind. Each hike got harder and higher in altitude each day! Whichever hikes you decide to do, don’t take the altitude for granted.
The list also includes some popular trails and some lesser-known trails. Consider hiking to the less-traveled parts of the park. You’ll feel like a true wilderness explorer while avoiding the masses. However, also note that these hikes are for people who really love to hike. They are all moderate to difficult hikes.
1. Mills Lake Hike
Max elevation 9,900 ft.
5 Miles (out and back)
700 ft. elevation gain
Hike to Mills Lake for a great acclimation hike in the park. The lake is named for Enos Mills, the man commonly referred to as the “father of Rocky Mountain National Park.” You’ll pass by waterfalls and eventually end up at the lake, where you can find a quiet place to take a dip or have lunch. However, this hike is probably the busiest of all the ones on the list, so be prepared for more people.
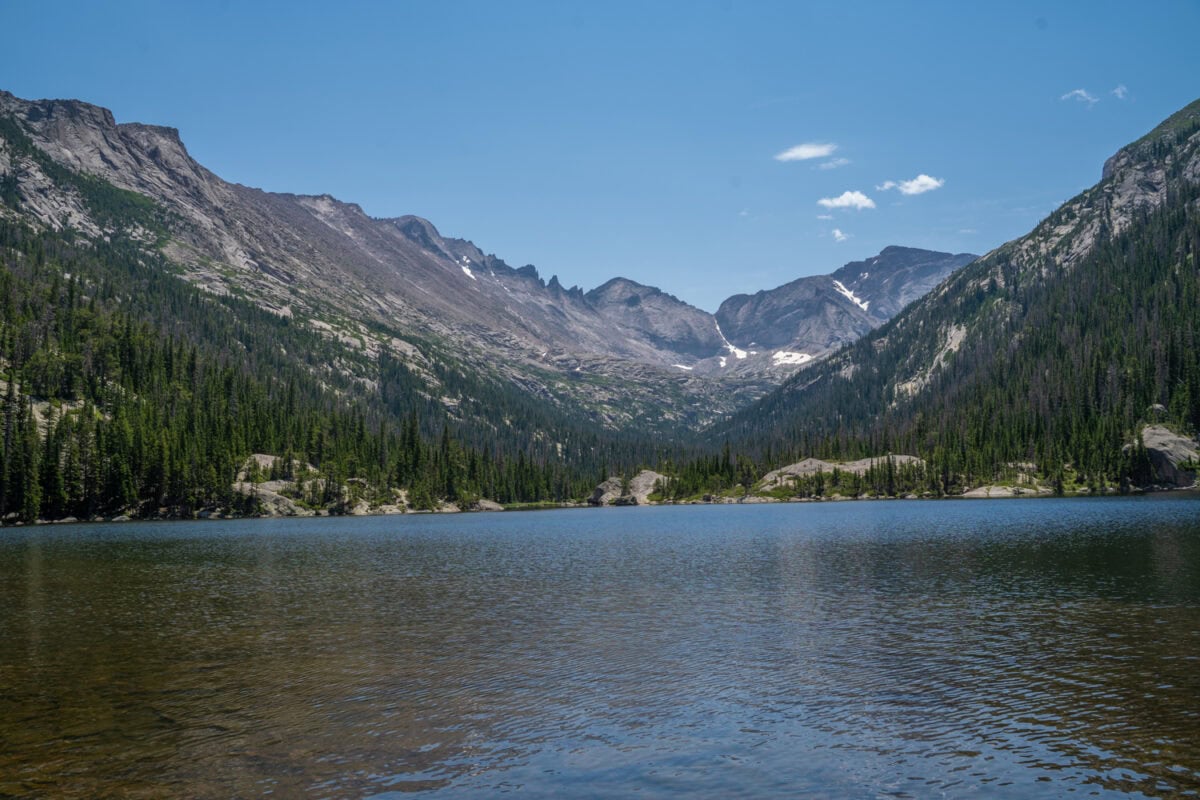
Also – this is a great winter snowshoe hike, and there’s virtually no one there in the winter!
More Information Mills Lake Hike
2. Odessa Lake via Fern Lake Hike
Max elevation 10,000 ft.
8.8 Miles (out and back)
1,865 ft. elevation gain
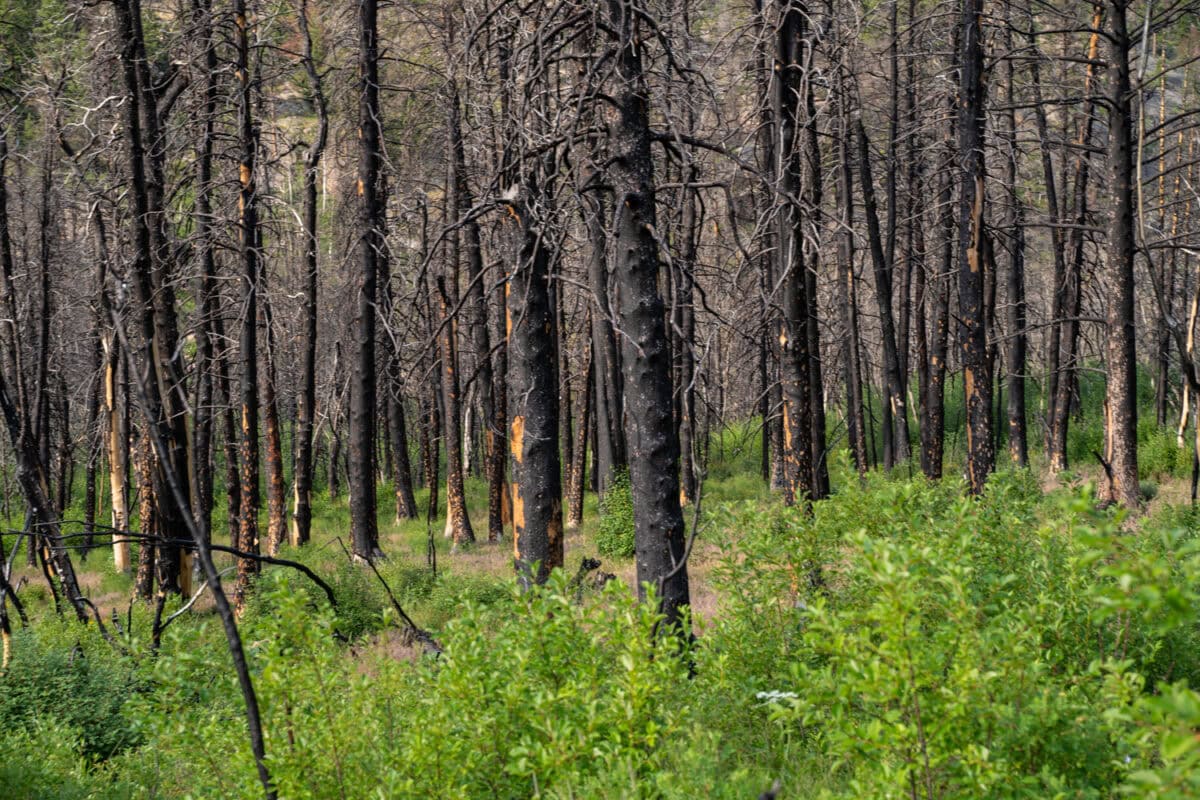
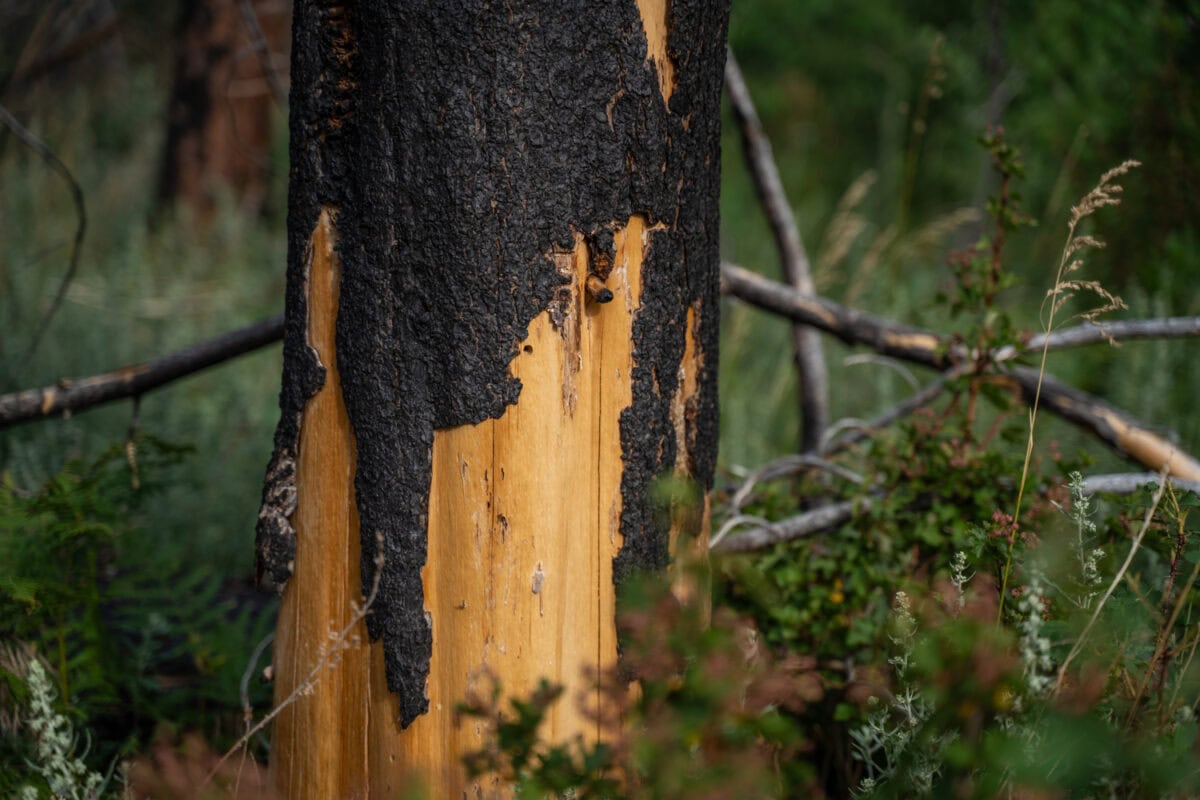
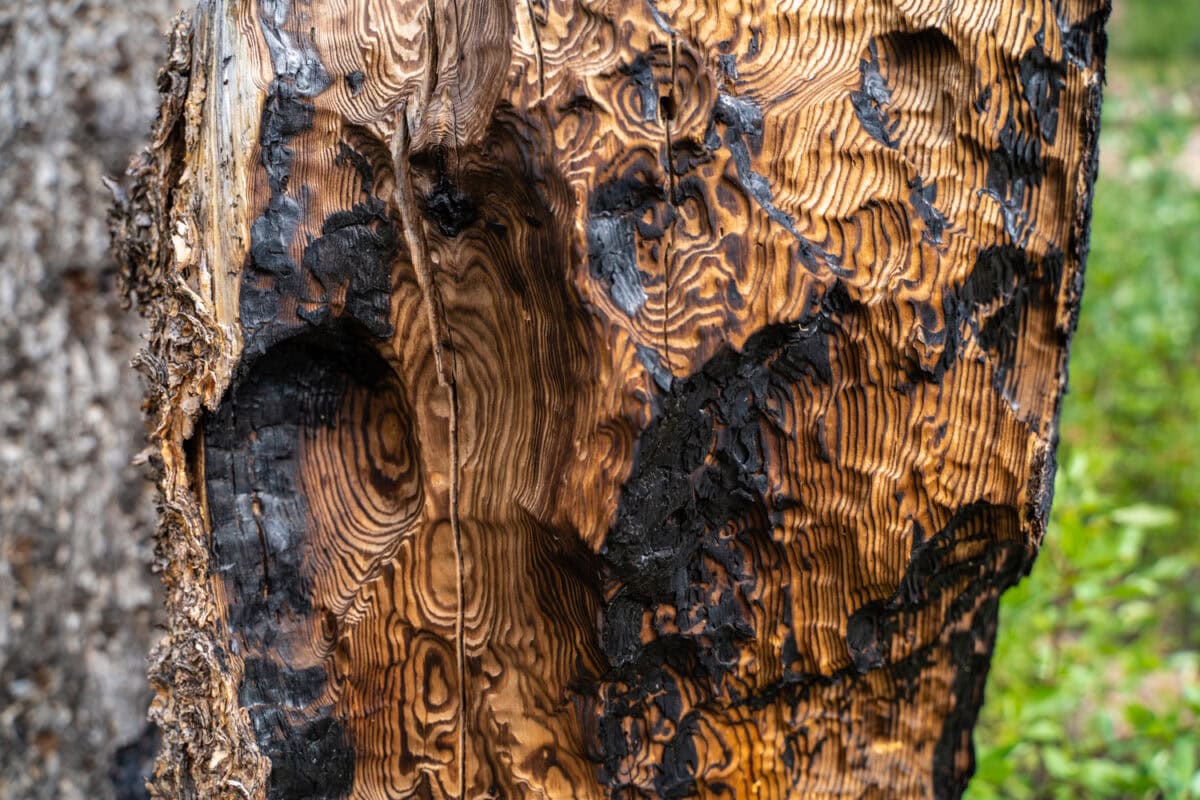
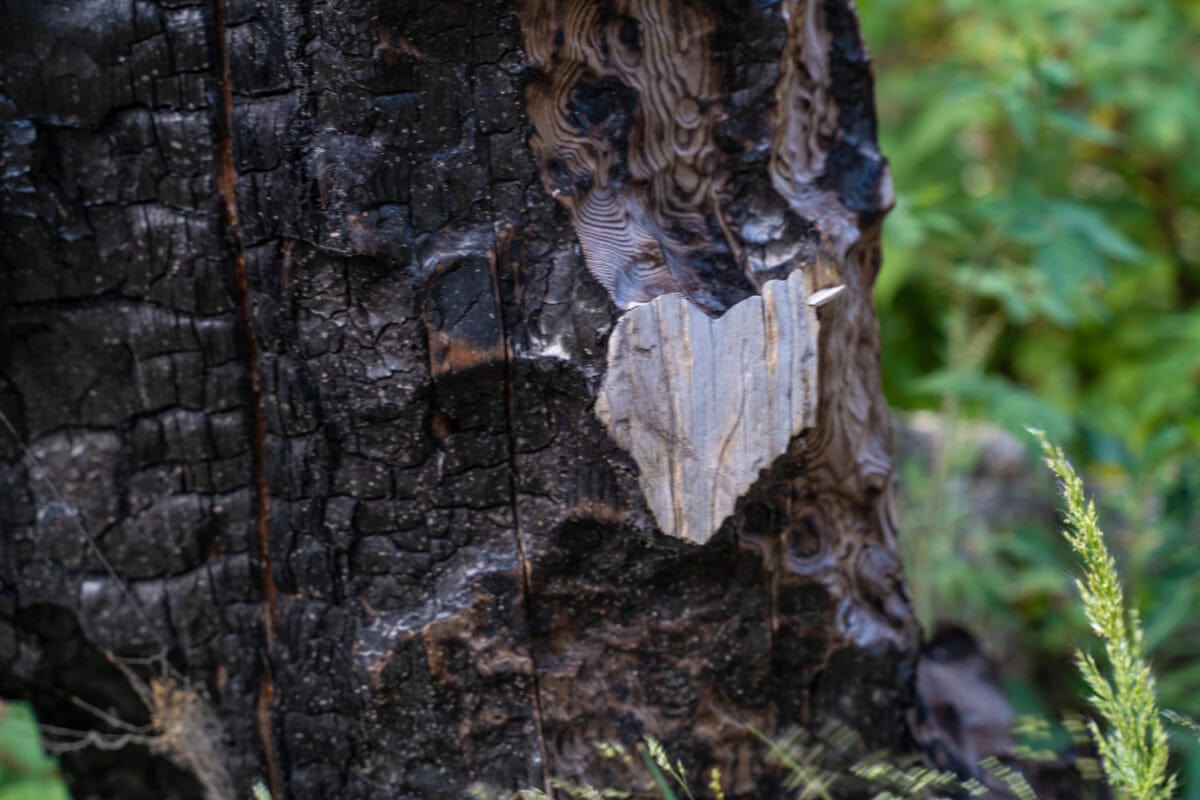
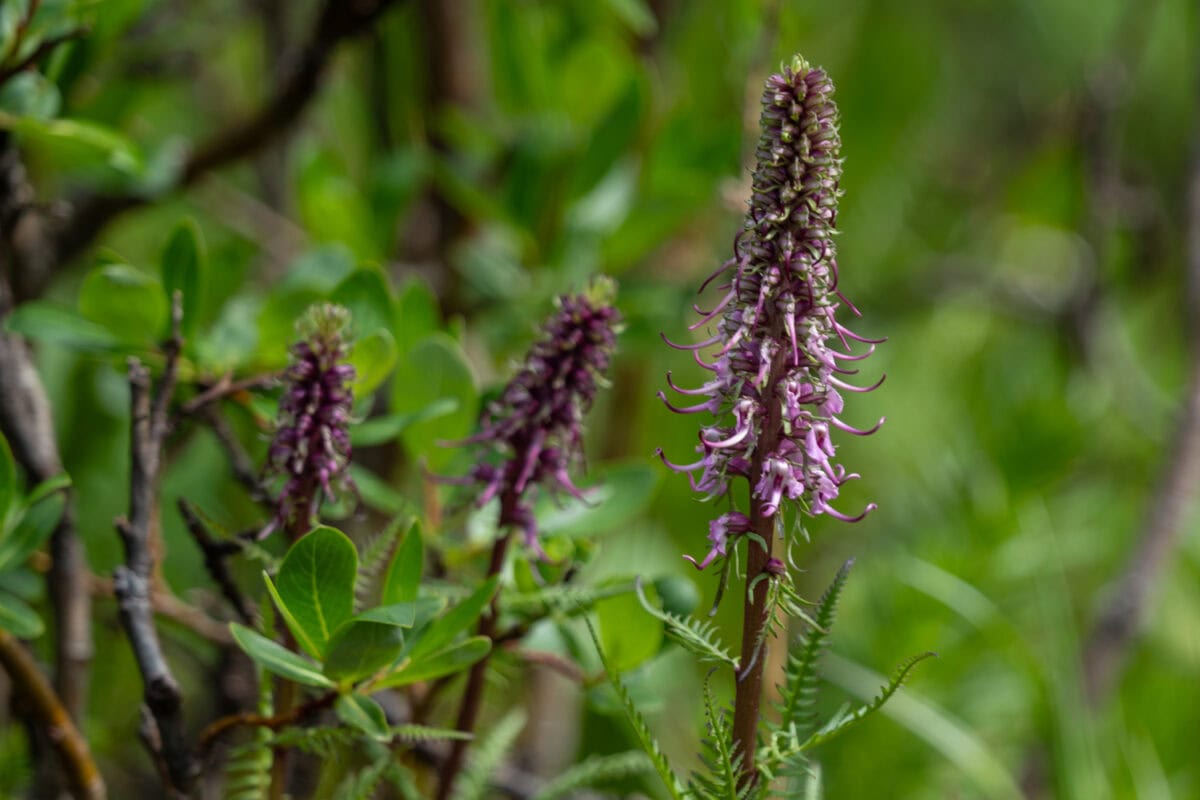
This is definitely a lesser-known hike. In addition, the trail goes through a large area of fire damage from the East Troublesome Fire in 2020. Because of this, it lacks a lot of shade and can get hot, so start early. Even though it was burned 4 years ago, flora has definitely come back. In fact – I loved this hike for that reason – it was a super way to understand how forests come back after a devastating fire. See for yourself in this video. I found it beautiful and fascinating, plus there were very few people on the trail.
In addition, you’ll encounter a great waterfall and Fern Lake (also a burned area) before you make it up to Odessa Lake (no fire damage). I absolutely loved this hike!
More Information on Odessa Lake Hike
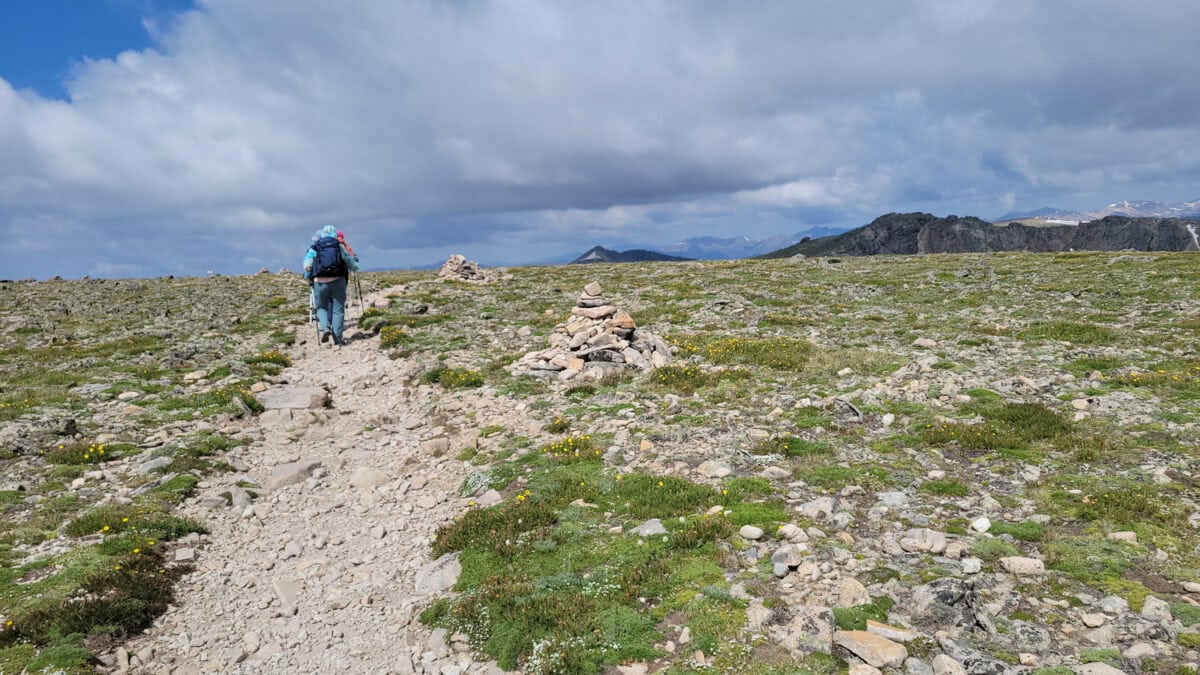
Old Ute Trail Hike
Max elevation 11,796 ft.
3.5 miles (point to point)
950 ft. elevation gain
We did this as point-to-point; however, if you can’t work out the logistics of point-to-point, then you can easily start at the visitor center, hike to Milner Pass, and then hike back up to the visitor center. You start in the tree line and steadily climb out of the trees. The views are massive and go on forever! It makes you want to invoke your inner ‘Climb Every Mountain’ twirl!
One benefit of this hike (besides getting you acclimated to higher altitudes) is driving up Trail Ridge Road – the most scenic road in the park! Plus, you also get to stop at the Alpine Visitor Center (the highest elevation visitor center in the National Park System at 11,796 feet) where you can see exhibits, do some shopping, and eat lunch!
More Information Ute Trail HIke
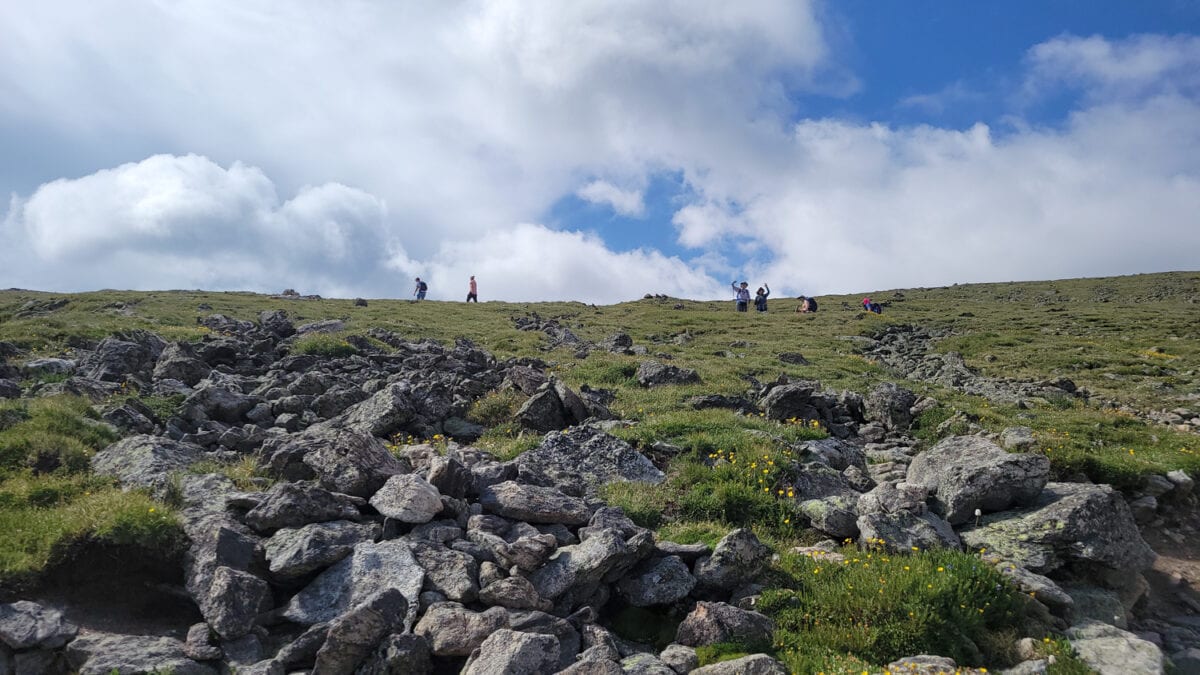
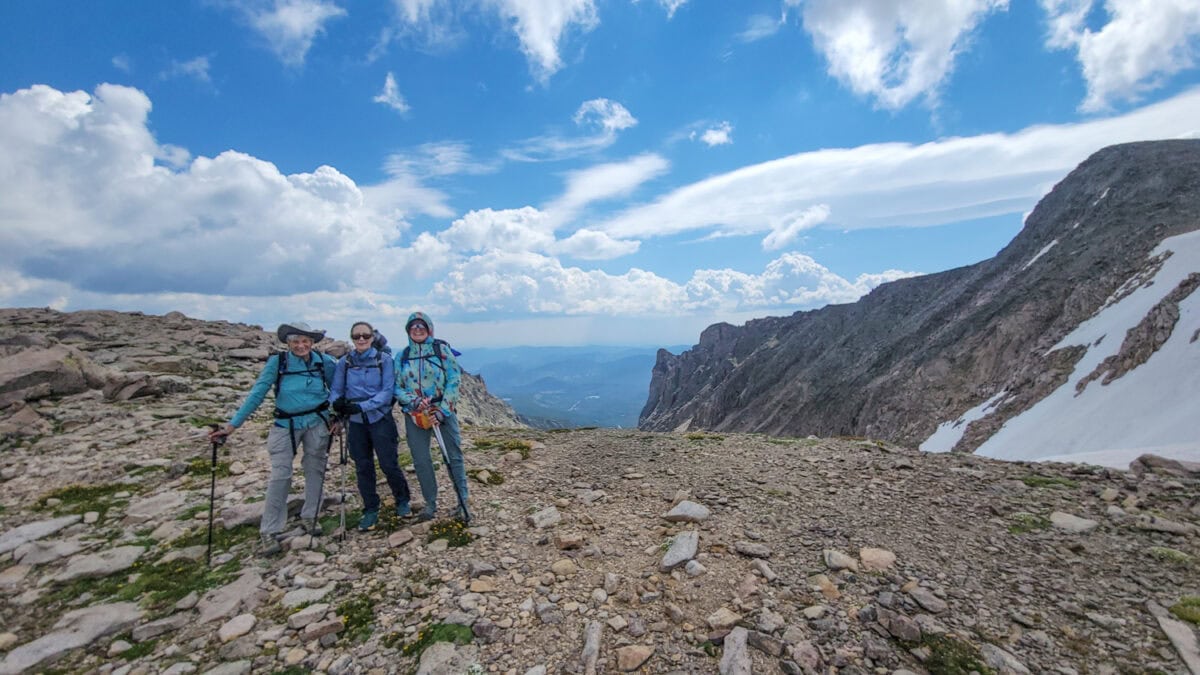
Flattop Mountain Hike
Max elevation 12,328 ft.
8.8 Miles (out and back)
2,849 elevation gain
The hike starts in one of the busiest parts of the park—the Bear Lake parking lot—but you can get away from the crowds pretty quickly since this is a difficult hike. It’s a steady climb up above the tree line. You’ll feel the altitude as your world turns into slow motion as you put one foot in front of the other!
The ‘mountain’ is just as its name states—rather flat and rocky. I was stunned by the views, which extended all the way to Grand Lake! In addition, if you are looking for an extra challenge, you can scramble up the rock field and summit Hallett Peak!
More Information Flattop Mountain Hike
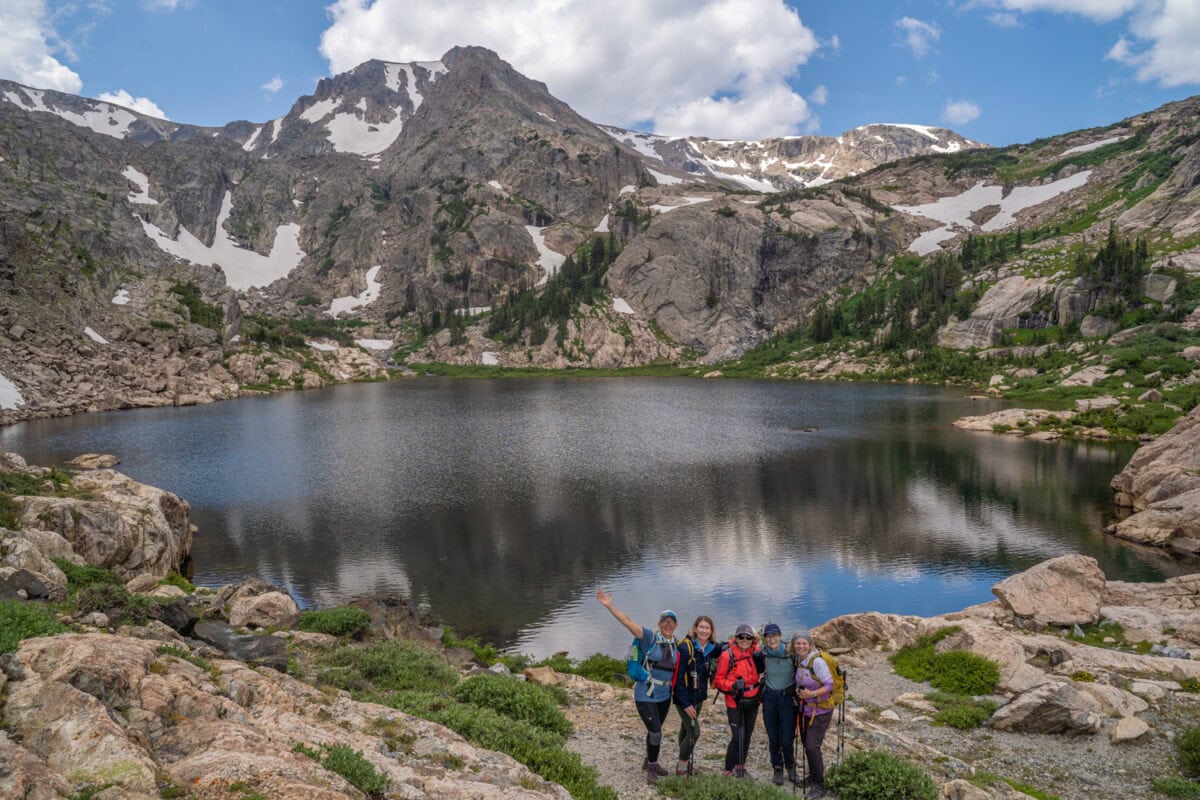
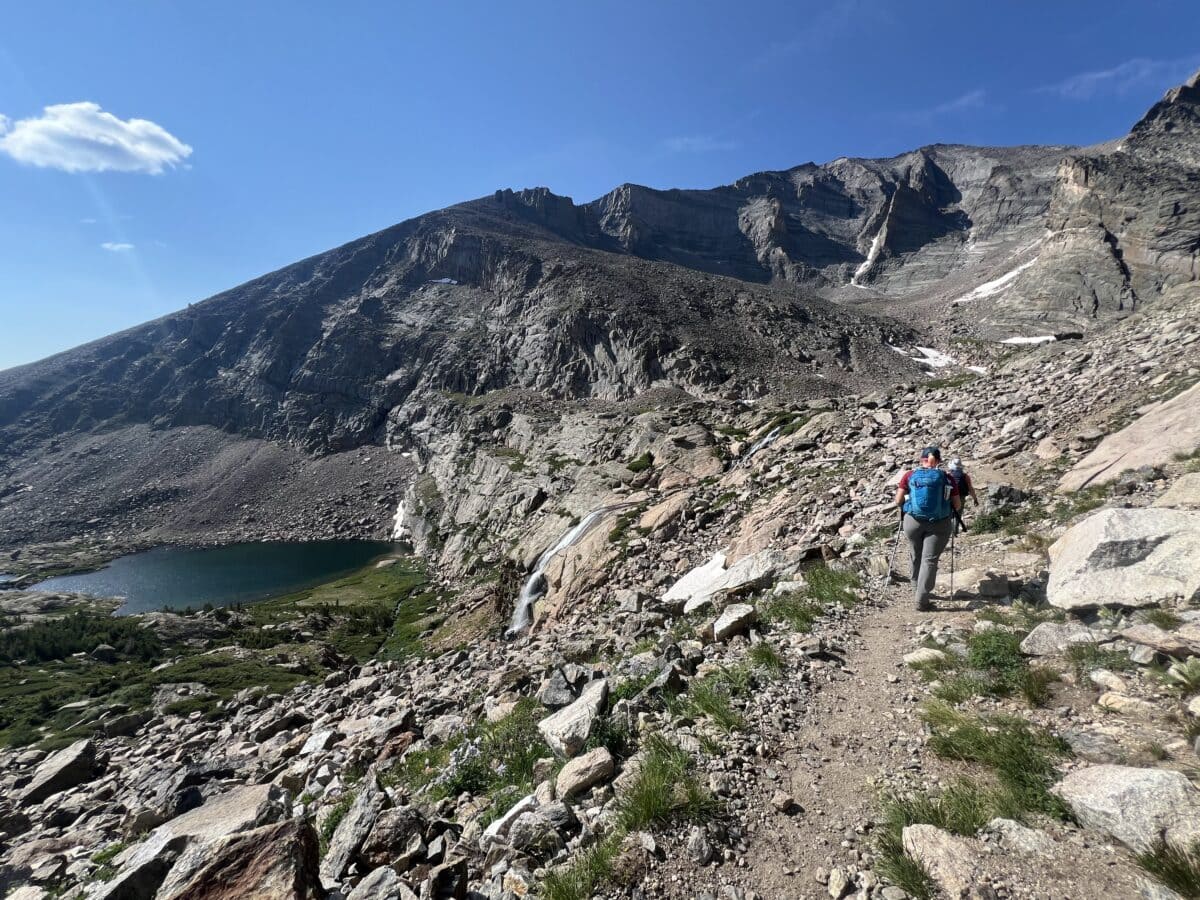
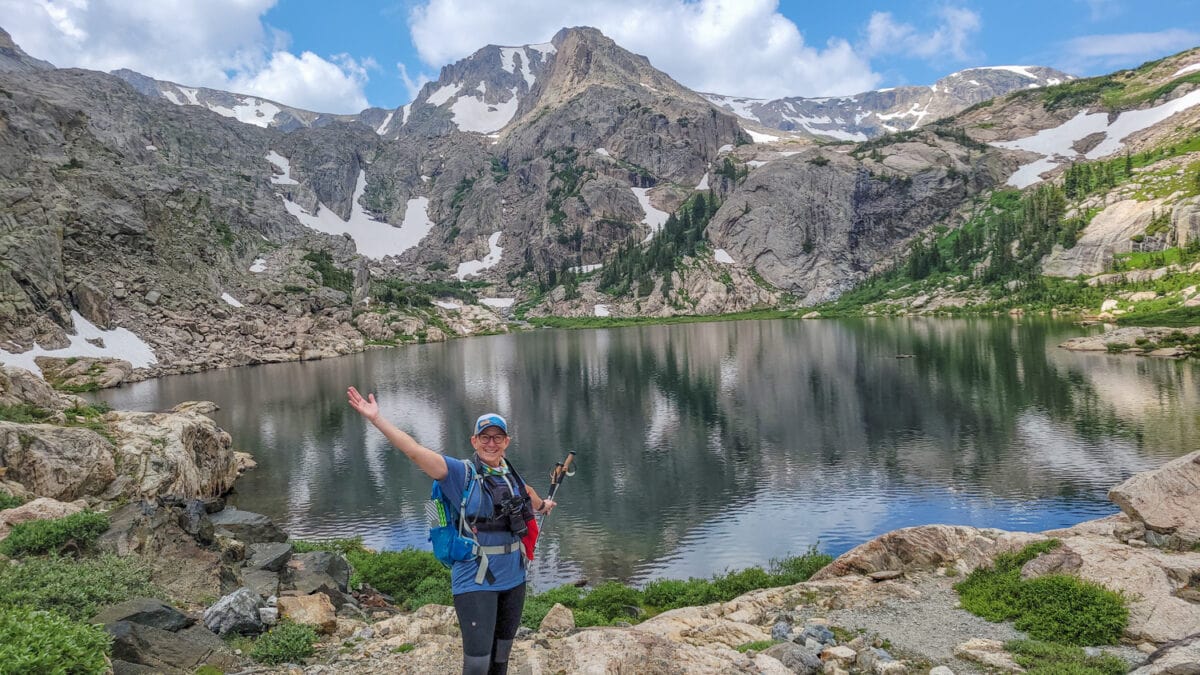
Bluebird Lake Hike
Max elevation 10,978 ft.
14 miles (out and back)
2,443 ft. elevation gain
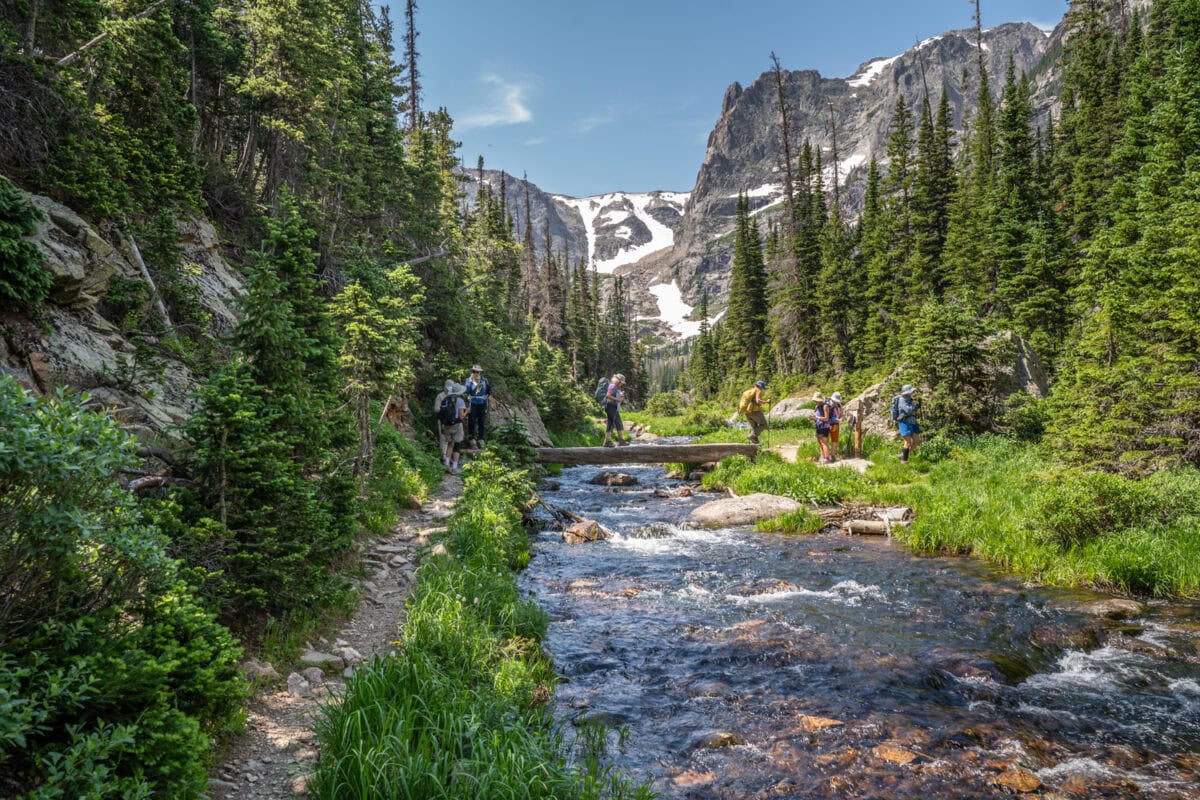
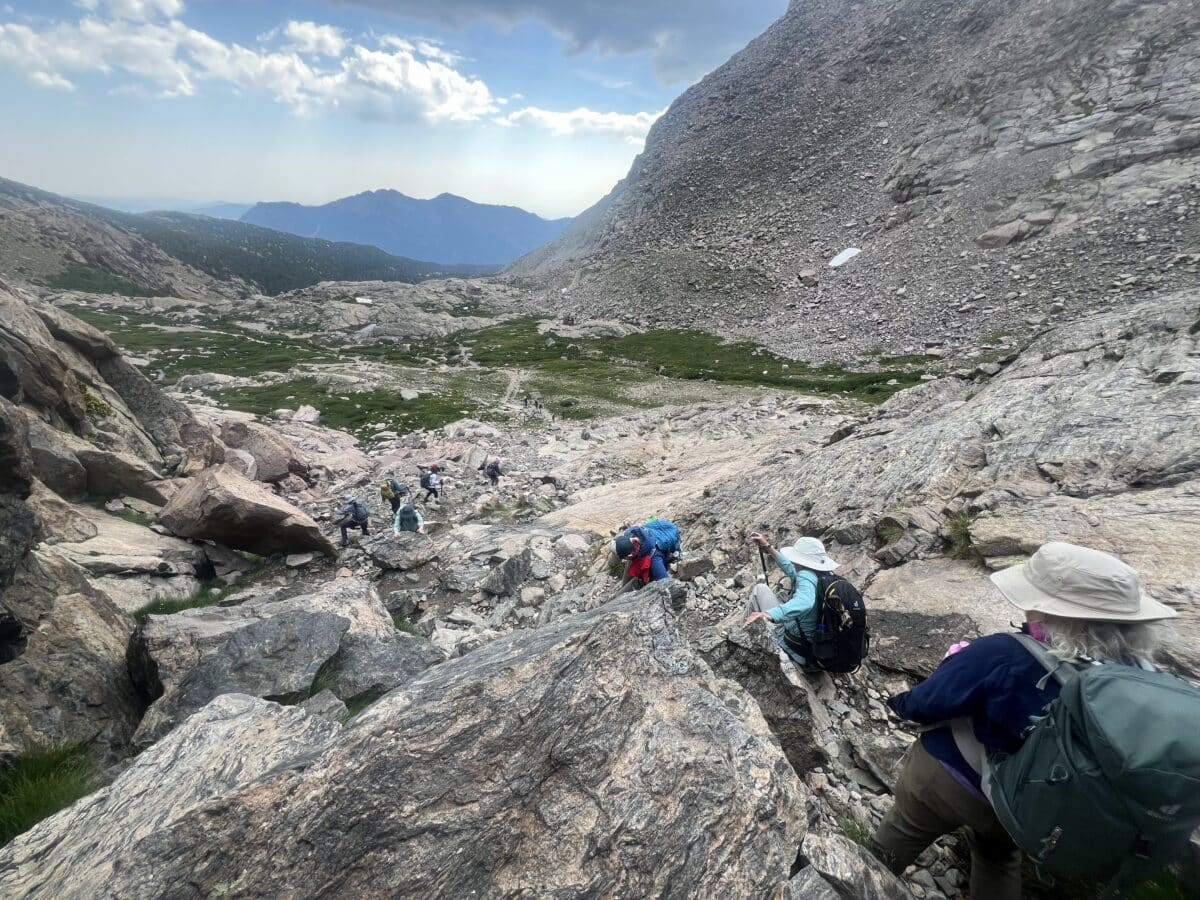
I was pretty unsure about going 14 miles on day 5 of hiking, but it was sooooo worth it! This hike starts in a lesser-known part of the park which means that there are fewer people. It follows a river and you pass by at least 3 or 4 waterfalls. The waterfalls make the hike popular – however, most people turn around after seeing one or two waterfalls, so you lose everyone on the second half of the hike!
Once you go past the turnoff to Ouzel Lake towards Bluebird Lake, the trail thins out even more. That’s where you’ll experience the best part of this hike. The trail is narrower, the views are incredible in every direction, and you even have to scramble up rocks to get to this hidden gem! This was my favorite view of all the hikes on this list!
More Information Bluebird Lake Hike
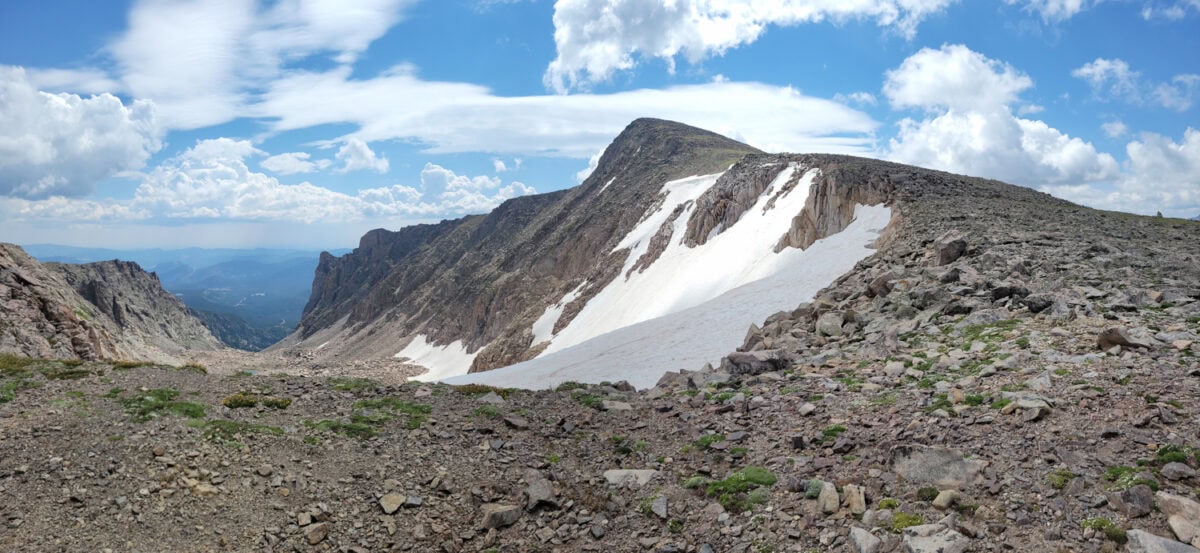
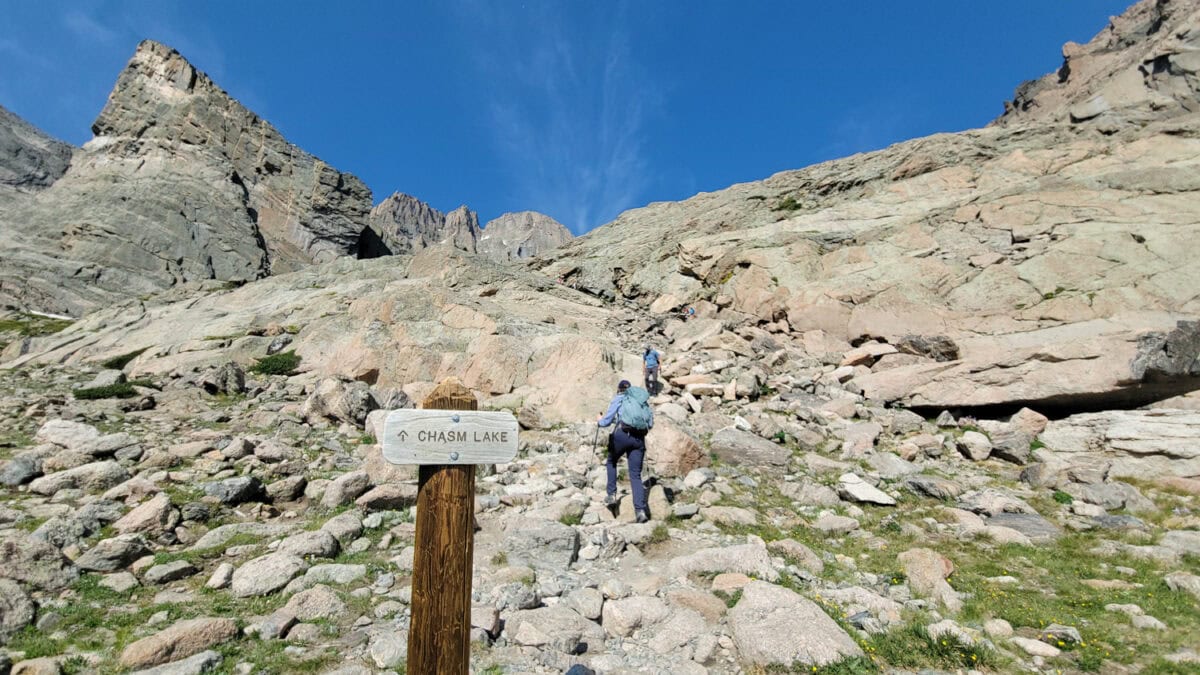
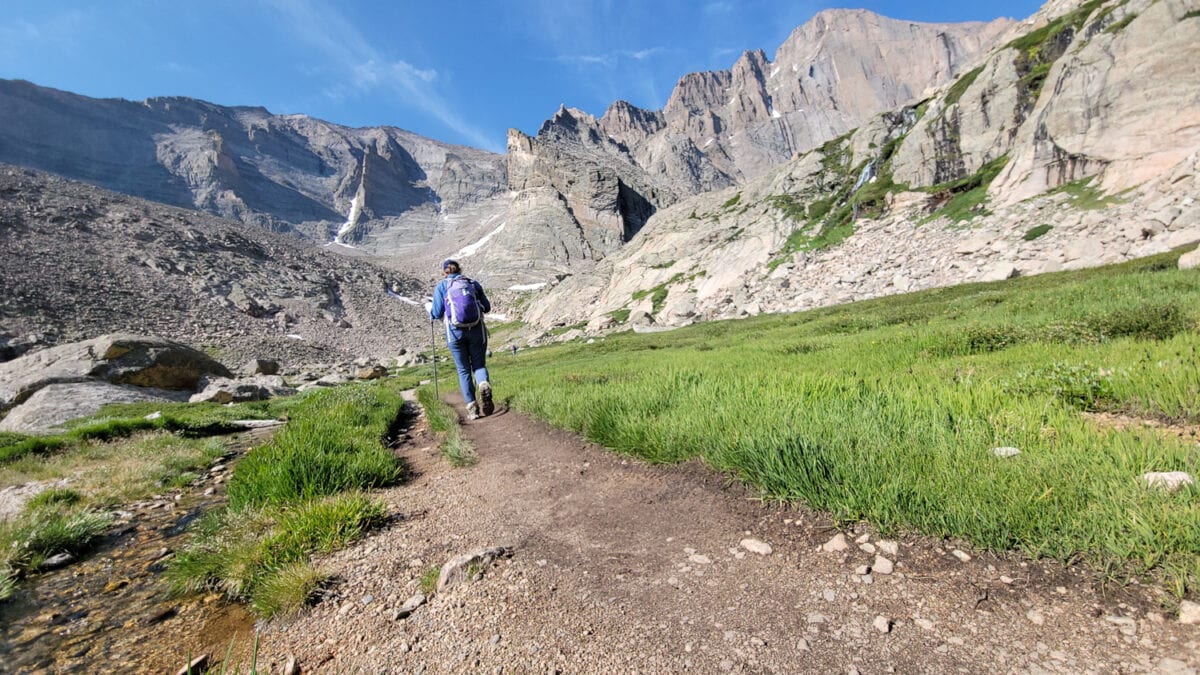
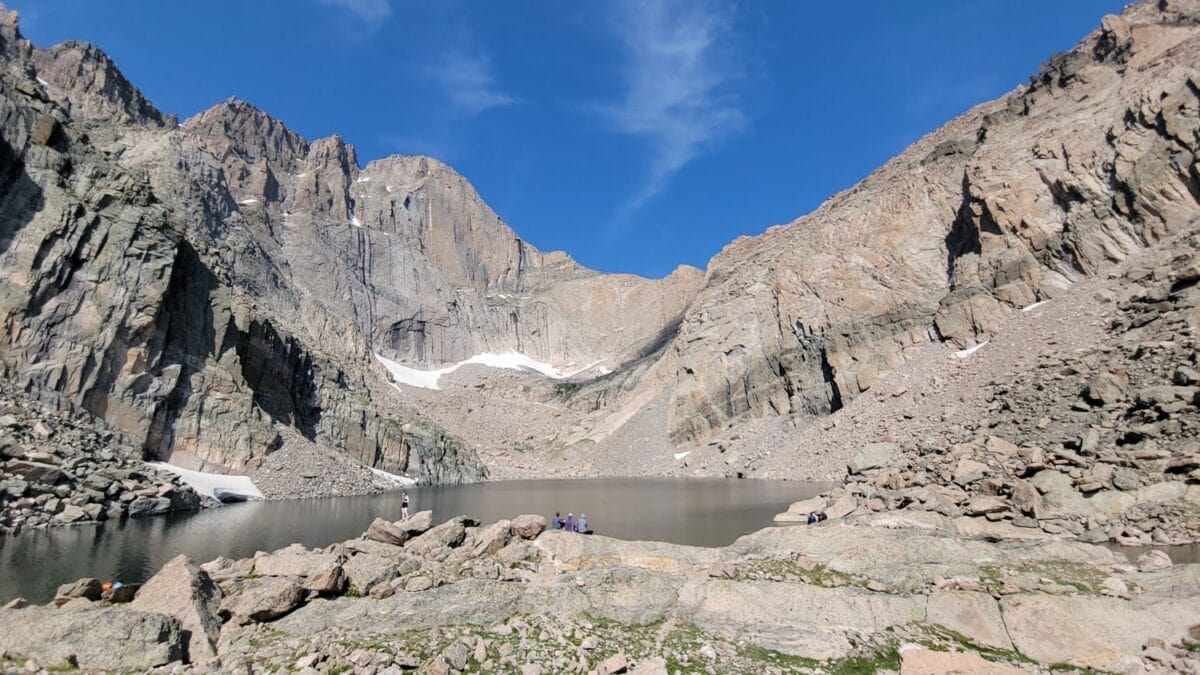
Chasm Lake Hike
Max elevation 11,760 ft.
8.5 miles (out and back)
2,524 ft. elevation gain
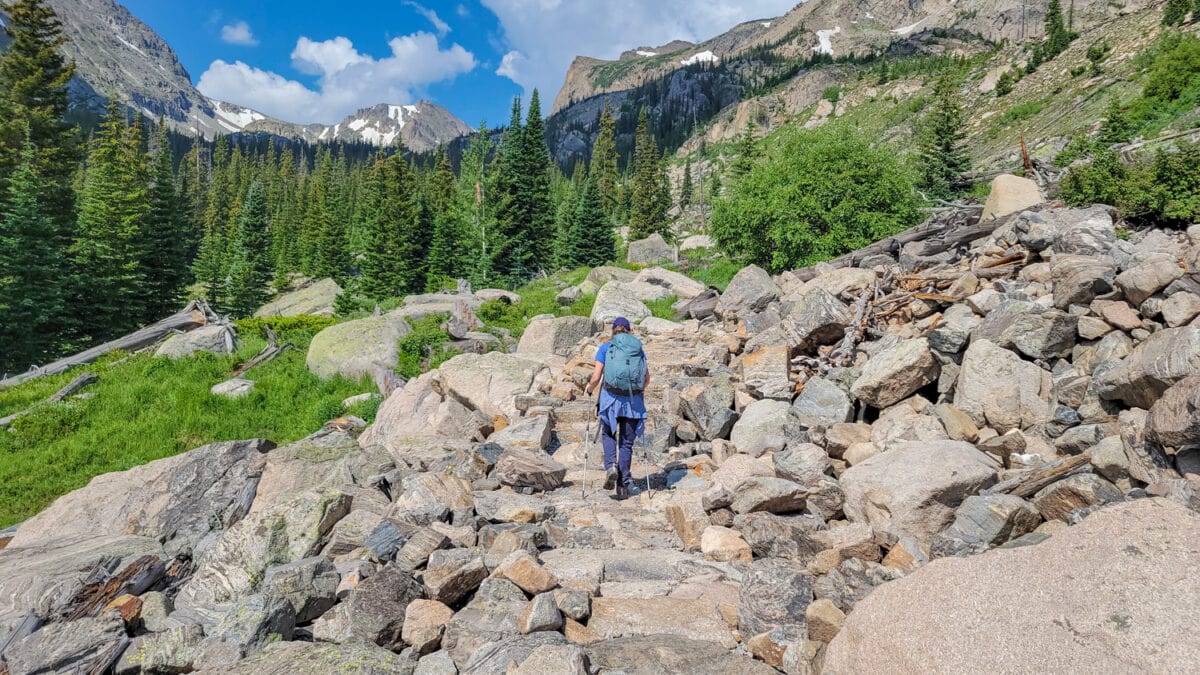
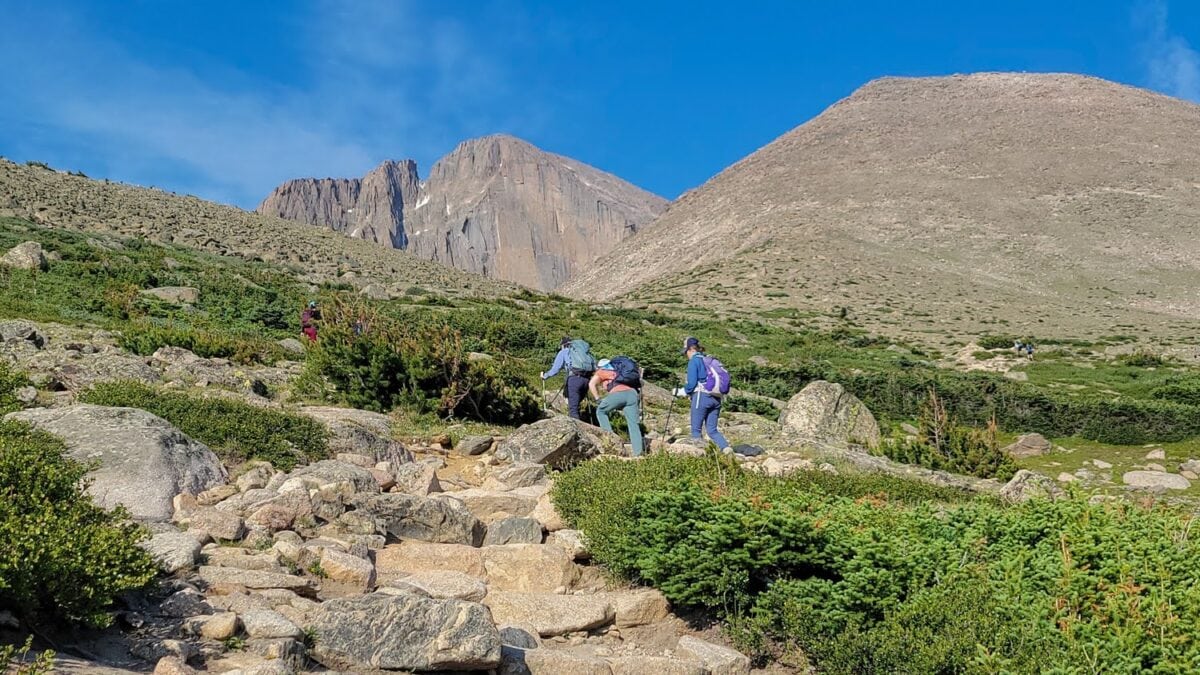
This hike leaves from the Longs Peak trailhead parking lot, which is normally full, and parking can be an issue unless you get there really early. It’s a steady climb through the forest, and eventually, you pop out of the trees onto a boulder field. The trail over the boulders is long, but the trail itself is in great shape. In fact, we passed crews that were doing trail work on it—God bless these people!
After the boulder field you have a section of narrow exposure, a scramble up steep rocks, and then you rejoice as you look out on the beautiful Chasm Lake! The lake sits below Longs Peak and has a stunning rock face where you’ll frequently squint your eyes and see daring (or crazy) climbers making their way up!
More Information Chasm Lake Hike
Tips for Hiking in Rocky Mountain National Park
Before you embark on your Rocky Mountain National Park Hike, here are a few things to remember.
Reservation system
The park instituted a reservation system during the pandemic, and it has remained in place. I personally think it’s a good idea—with a little pre-planning, we keep the park visitors at a manageable level.
Reservations are only available on Recreation.gov. Note that a separate reservation is required for Bear Lake Road, from which many of the hikes start. Or, you can go with a company like Adventures in Good Company, and you don’t have to worry about a reservation or a park pass at all! They handle everything!
Get up Early to Beat the Crowds
Even with a timed entry reservation in the park, trailhead parking lots fill up FAST. The earlier you go, the more likely you will find parking at a trailhead. However, the park does offer shuttles from a bigger shuttle lot and will drop you at trailheads. I wish I could say it was a ‘just as good’ experience as parking in the lot you want, but it takes longer and involves waiting in lines. Many park employees work at the shuttle stops, so that is very helpful.
One other thing to note that I personally think is a big mistake the park is making is that on Bear Lake Road, they have big electric signs that give you updates on whether the Bear Lake parking lot is full so you know whether to turn into the shuttle lot or not. That’s great…it helps you not waste time…wrong.
They don’t seem to update the sign, which always says the lot is full. We were there before 6AM and the sign said the parking lot at Bear Lake was full. We were all shocked, so we decided to go look. When we got there, the lot was only half full; tons of spots were available. If you are going to use a sign to inform people, then don’t lie…tsk, tsk (yes I’m wagging my finger at YOU RMNP!). It’s had me infuriated. How can anyone trust what the rangers say then?
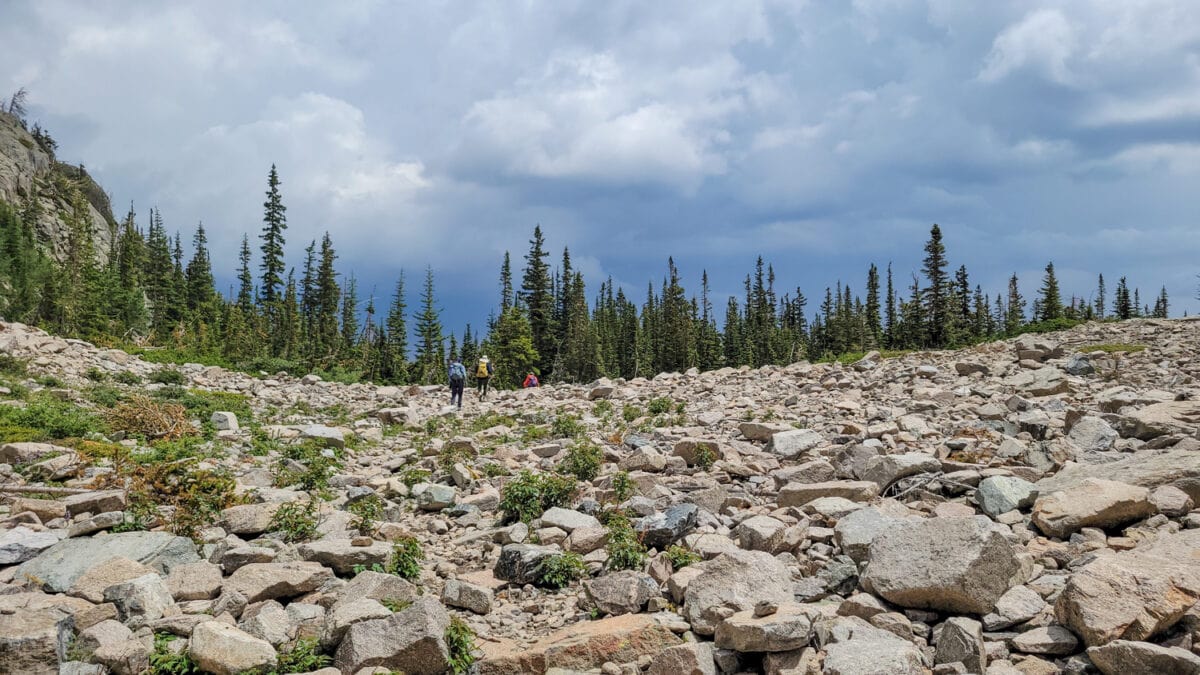
Get Up Early to Beat the Weather
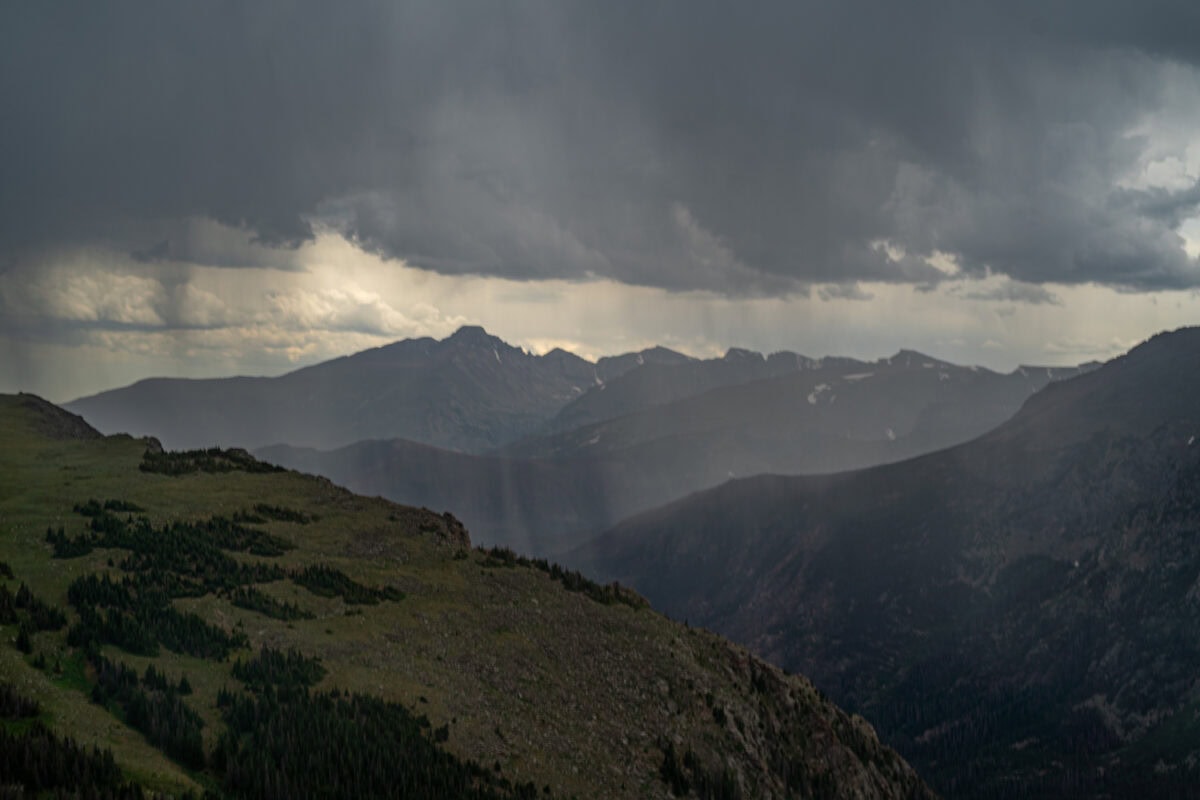
Mother Nature can be a fickle mistress in these parts. One minute, you’re soaking up the sunshine; the next, you’re caught in a sudden thunderstorm. Thunderstorms commonly form in the mountains in the early afternoon, so you’ll want to be done with your hike by 2 or 3PM most days. Plus, you’ll need to pack accordingly with layers, snacks, plenty of water, and maybe even some bear spray (better safe than sorry).
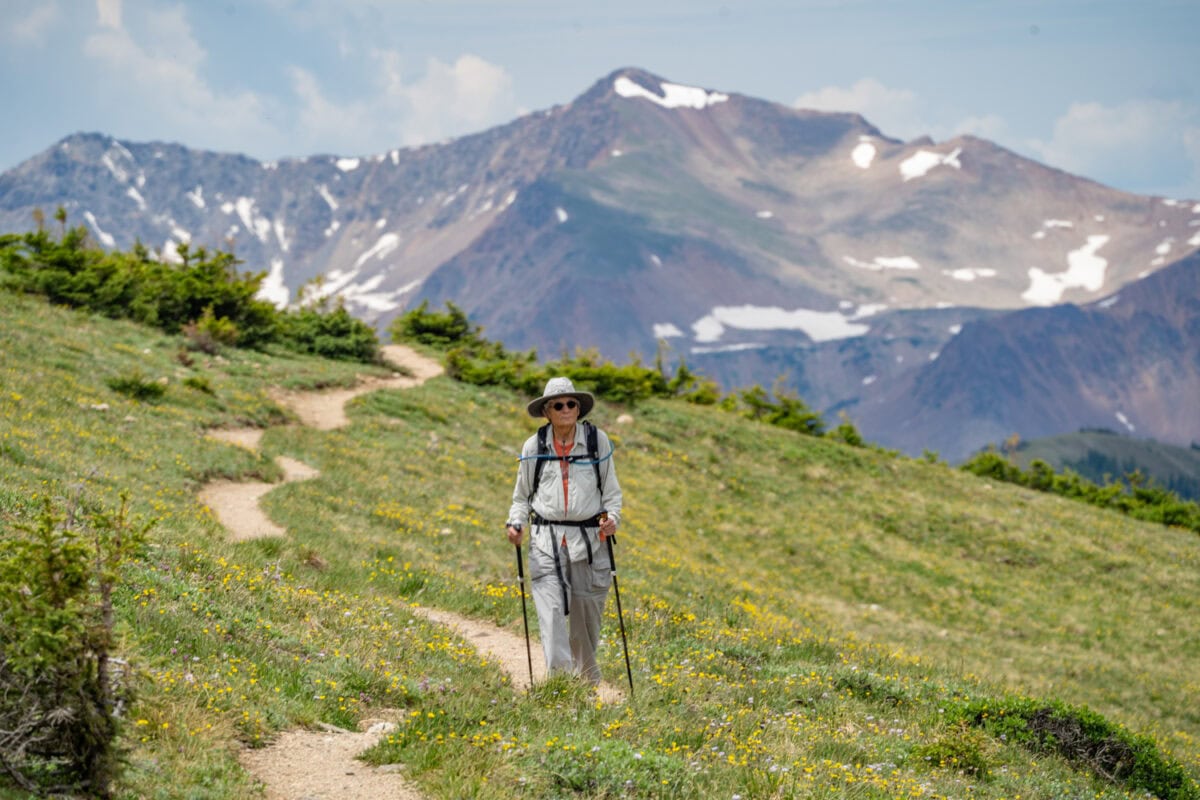
Be Prepared for Altitude
Altitude is no joke: If you’re coming from sea level, be prepared for huffing and puffing as you make your way up into the mountains. Most days we reached 10,000 to 12,000 feet. The key is to acclimate properly – hike high, sleep lower. Start with lower altitude hikes, gradually increasing the altitude each day while you sleep lower. Also – make sure you stay hydrated – you can’t drink too much water at altitude. Preferably it would help if you were drinking water with electrolytes like Acli-mate
I also recommend taking baby aspirin three days before you arrive in Colorado and continuing for as long as you remain there.
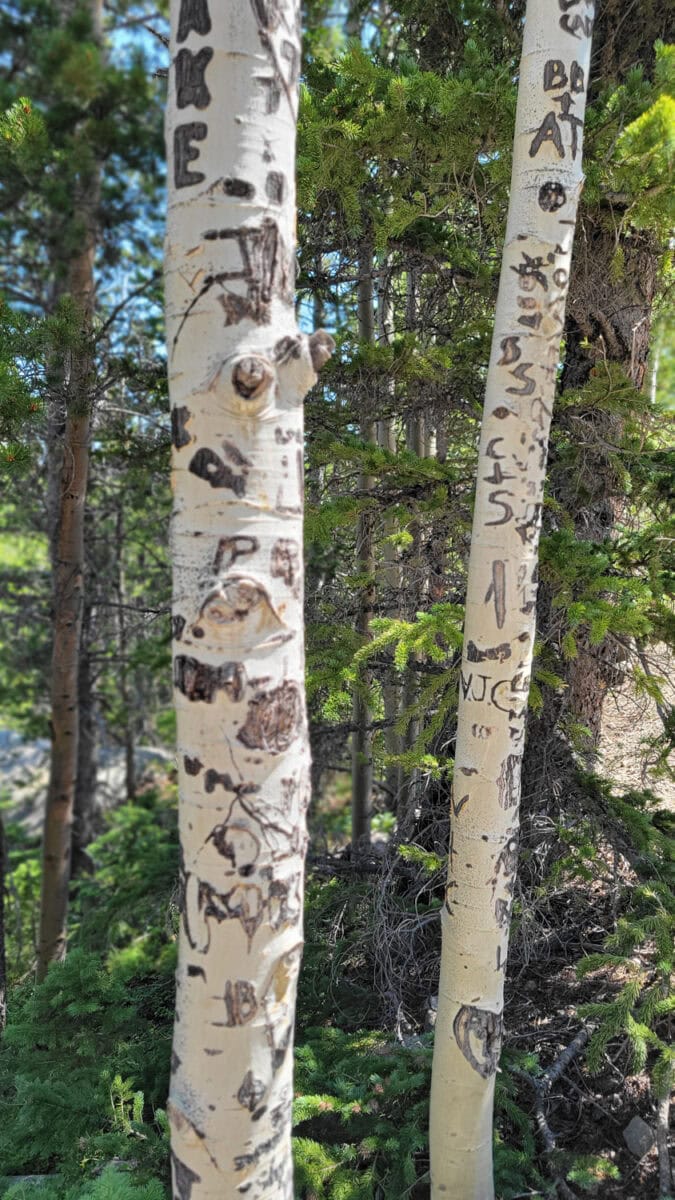
Mind your Manners
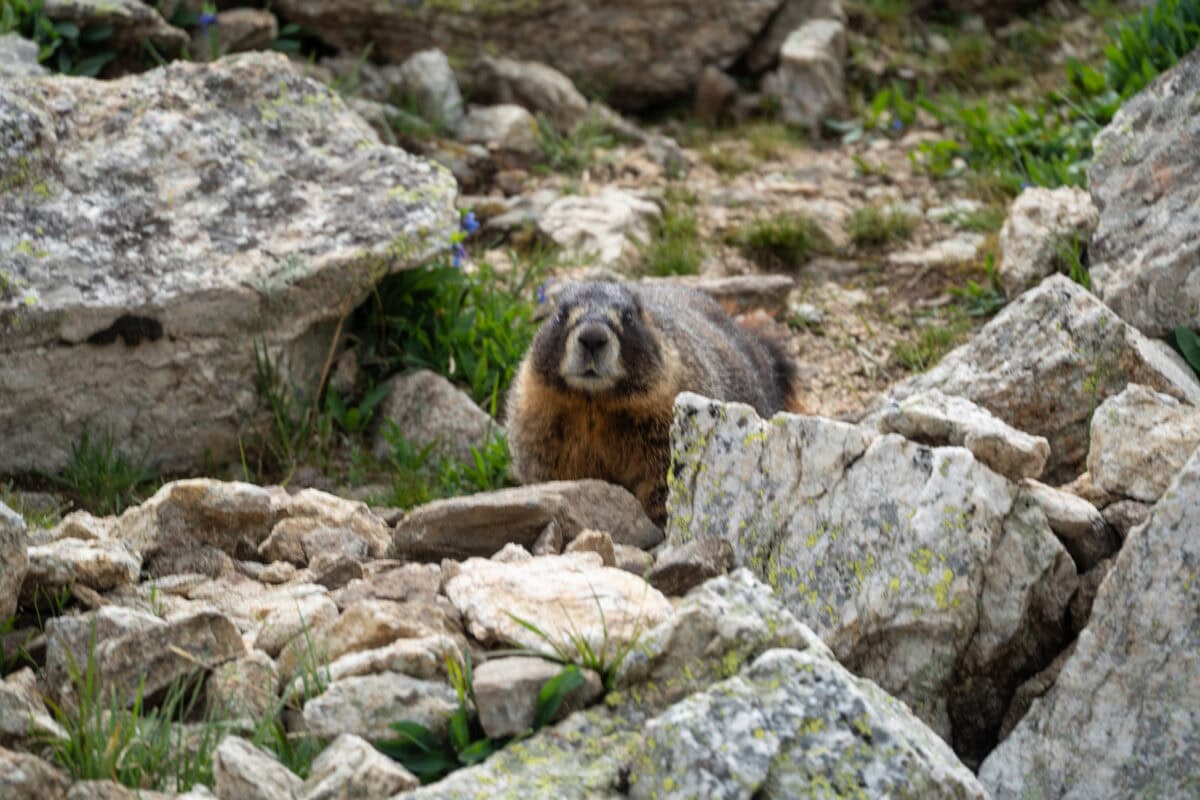
Leave no trace means just that – no littering, no feeding wildlife (seriously – not even that tiny Colorado Ground Squirrel giving you those cute sad eyes), and definitely no carving your initials into trees or rocks like it’s 1867. You’ll see how many Aspen trees have been defaced along the trails and it will sicken you…or make you want to cry…or both. Mother Nature doesn’t appreciate vandalism. It’s not ‘cute,’ it’s vandalism and personally, if caught, you should never be allowed in another park again in my opinion!
Hiking Gear You’ll Want for Rocky Mountain National Park
Check out my article about Essential Hiking Gear to get specifics on the brands and gear I recommend for hiking.
Hiking Tips for Any Hike
One of my favorite things about this tour and our guides was that they weren’t just guiding the hike; they were also teaching us how to hike, be responsible visitors, and leave no trace. Our guide, Brenda, works part-time at REI in the camping department, and it was like getting a PHD class in the outdoors and hiking!
I thought I was a pretty knowledgeable hiker; I’ve hiked all over the world, but Brenda taught me something new every day! Here are a few of my favorite things she covered.
- When it starts raining on the trail, time is of the essence. You want your gear ready so you don’t waste time looking for gear in your pack. Have your rain/wind coat ready with your gloves and beanie already in the pockets. Have your rain pants unzipped so you can quickly put them on.
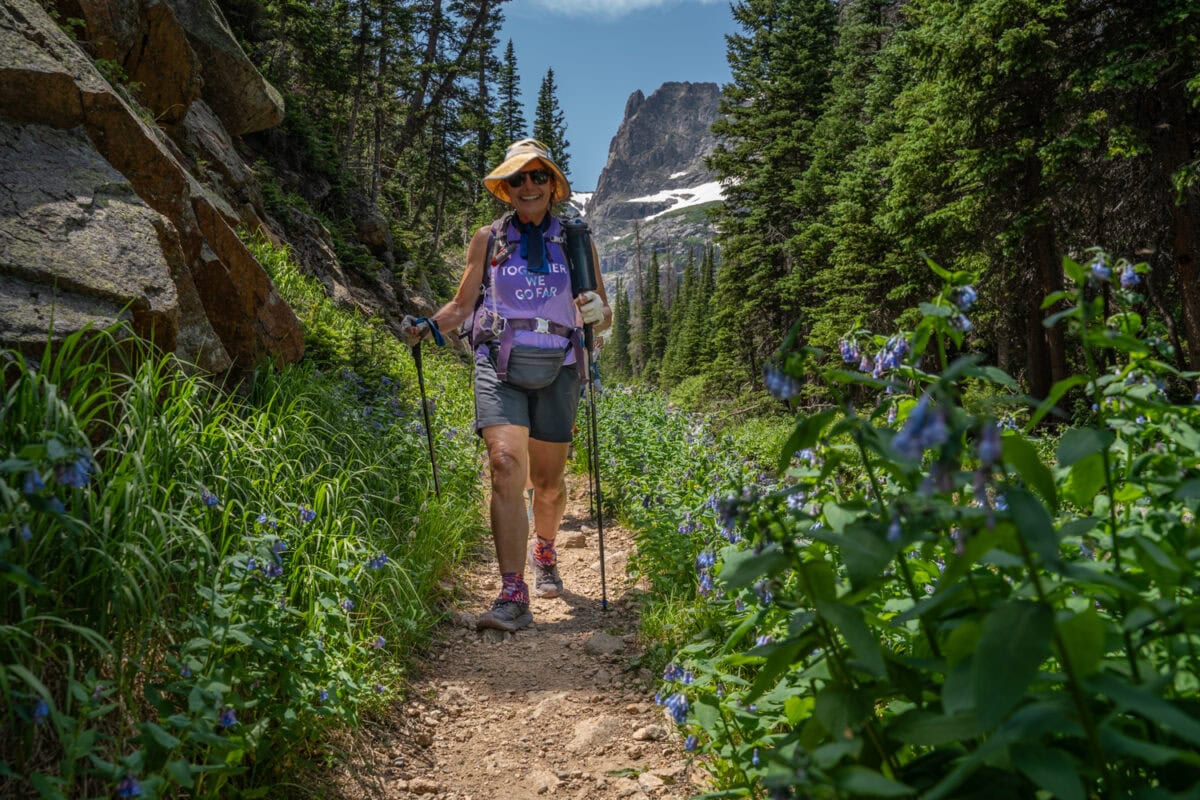
- Brenda also did a whole ‘class’ on how to use trekking poles properly. I see so many people using poles incorrectly—from how they hold them to how they walk with them. First, make sure you are holding your poles correctly to avoid injury and to create less stress on your wrists. Make sure that you adjust the length when you are going up or down on a trail. Depending on my direction, I usually adjust them at least 5 cm higher or lower.
Check out this article for more info on how to use your hiking poles properly. - Practice walking with your poles and planting a trekking pole in time with the opposing foot (right foot, left pole; left foot, right pole). This is the same pattern when going downhill – but instead of pushing off from behind propelling you, you’ll want to keep the pole in rhythm out in front of you. I like to think of myself as a crab when I go downhill – keeping my front legs out in front of me at all times.
- When other people on the trail want to pass you, make sure you stop, stand with your backpack facing uphill (not pointing at the trail), and let them go by. This ensures that as people pass by, they won’t accidentally brush your backpack and knock you off balance. This might not seem like a big deal; however, if you are on a narrow, exposed trail – it is essential and could save your life! In addition, if you are hiking with other people, communicate and make sure everyone goes to the same side of the trail to stop and let others pass.
- When you want to take a rest break, move off the trail when you stop. If possible, pick a rest spot that doesn’t harm plant life.
- Lace your shoes for hiking downhill. heel should be pushed back in your shoe, and tie a triple knot – see the video!
- Knowing where to go for safety is essential if you find yourself in a storm in the mountains. This is about avoiding lightning strikes, which are more likely to occur in high alpine environments. Avoid locations above treeline, open meadows, and single trees. If you see lightning, immediately go to a low point – a divot in the landscape, go next to the shortest tree and take cover under it if necessary. Do not go under a rock or in a cave! (this was totally new info to me!) Overhangs, rock shelters, and cave entrances are especially hazardous because lightning travels along vertical surfaces to seek the ground. These places can allow arcs to cross the gap, and you will be a part of it if you are standing in one. Finally, if you are with a group, spread out and make sure someone knows CPR.
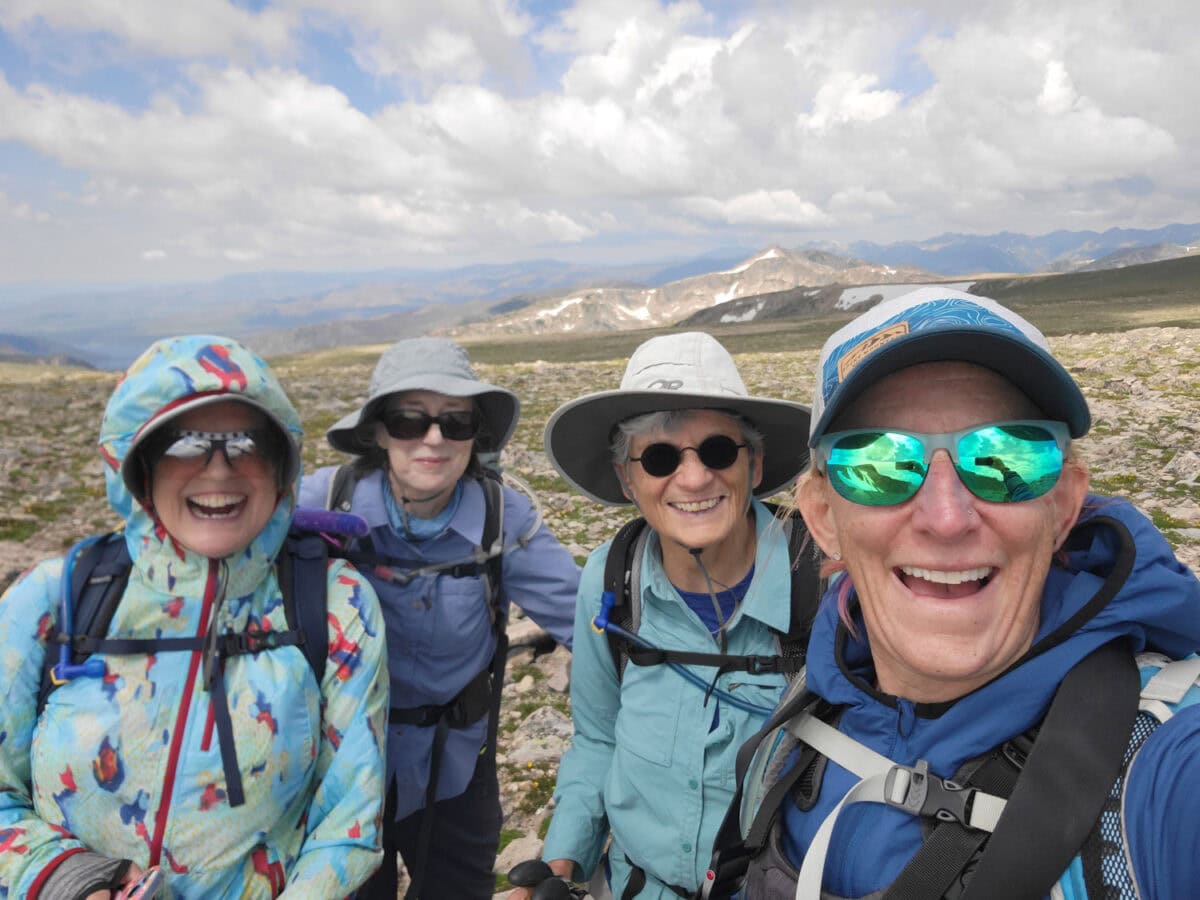
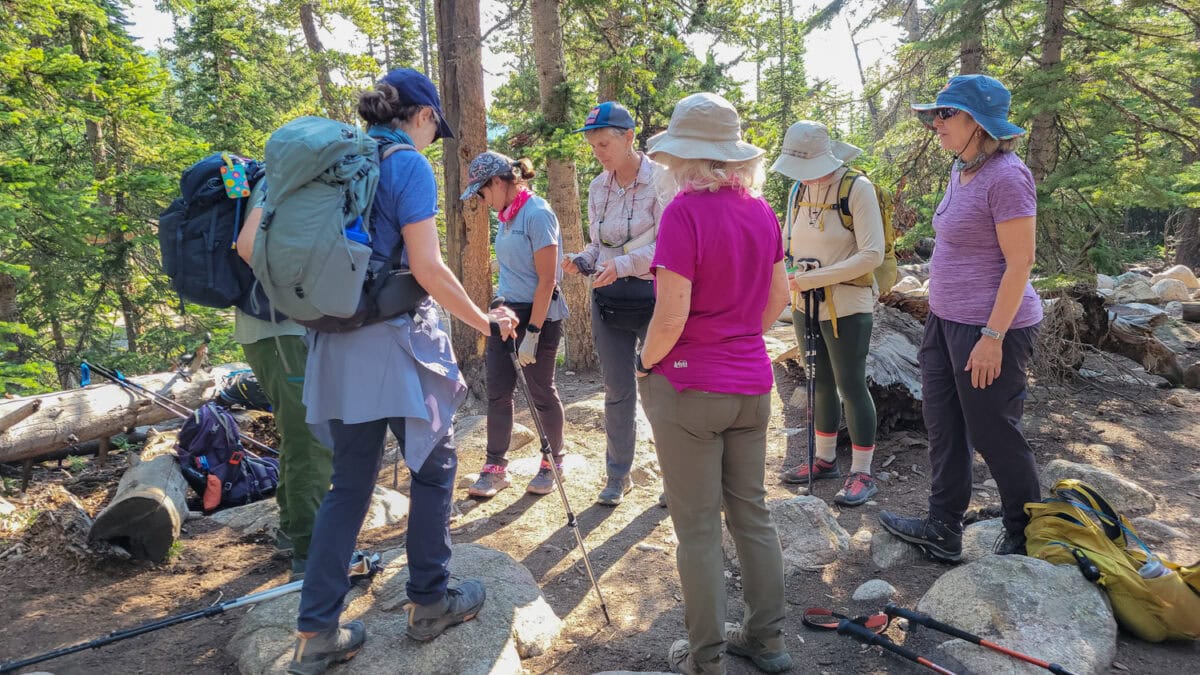
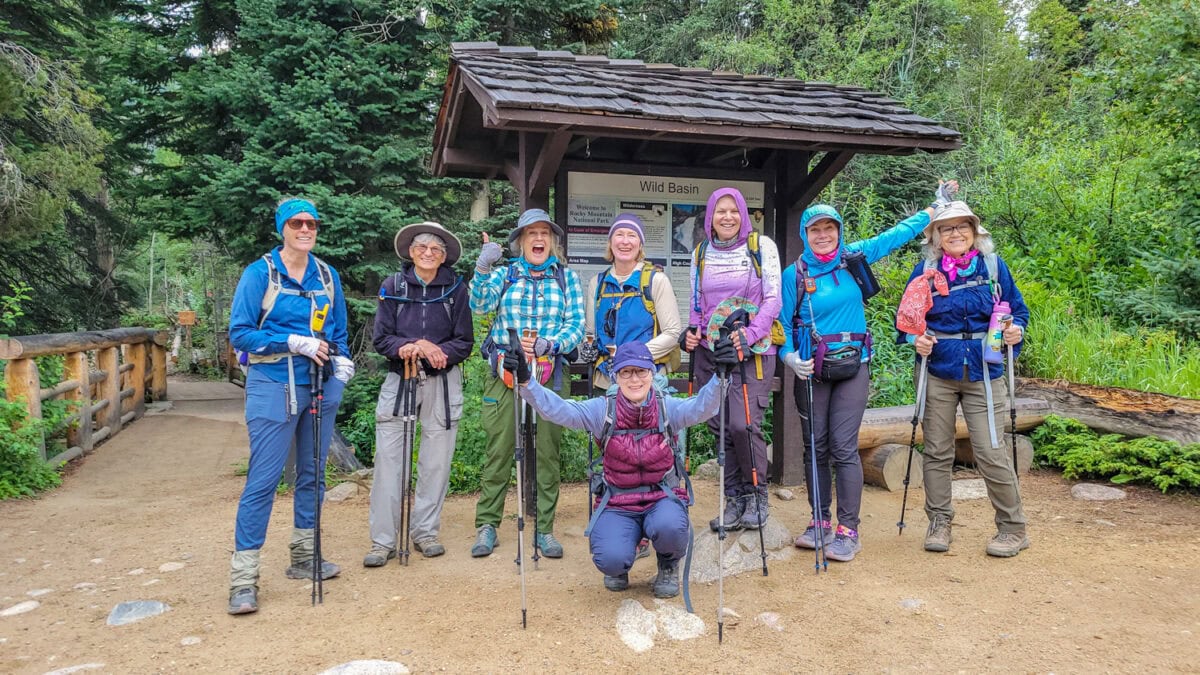
Adventures in Good Company Tours
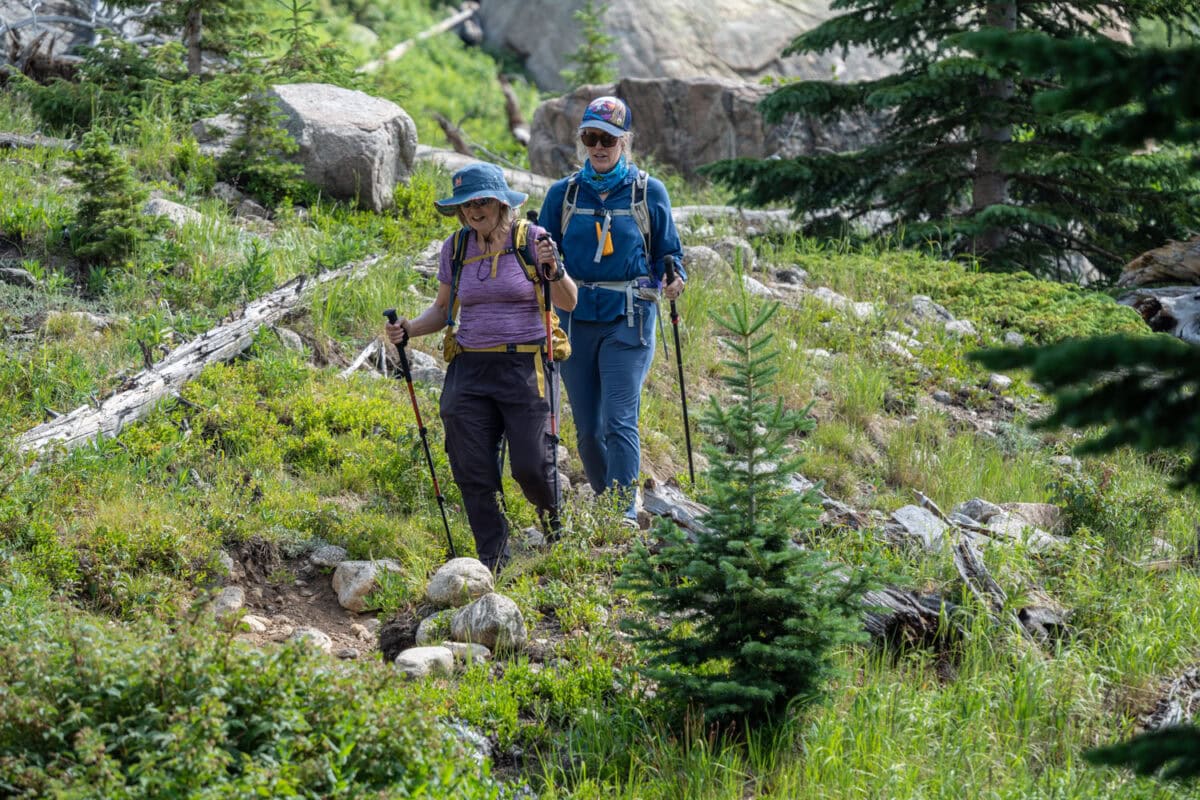
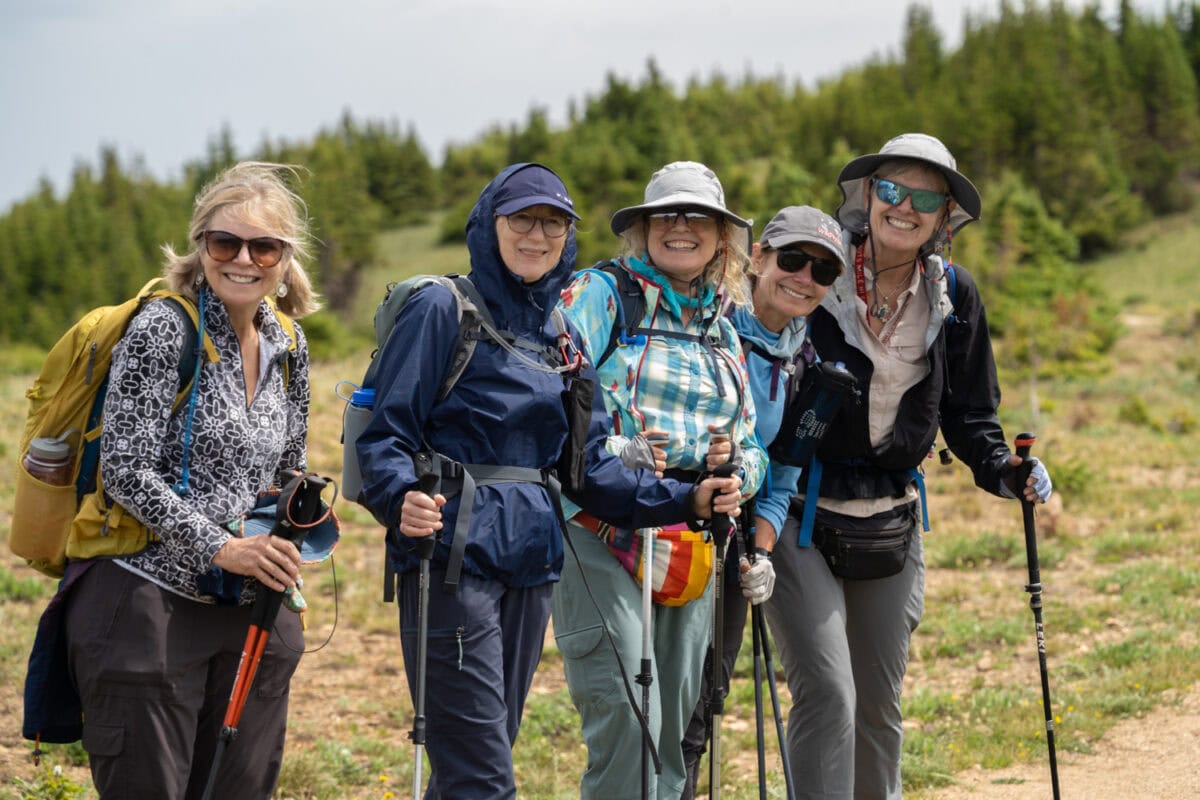
I traveled for the first time with Adventures in Good Company (AGC) – a women-only active adventure company based out of Colorado. It was such a refreshing trip, and exciting to meet so many women who love hiking and the outdoors. I enjoy doing women-only trips occasionally – it just feels different. I like being surrounded by women when you are challenging yourself physically or mentally.
Travel with me to Panama for a women only surf and yoga retreat!
Women Only Travel
When vacationing with a spouse, partner, or family, women often find themselves slipping back into their familiar roles—the caregiver, organizer, or chief snack provider—just with a new backdrop. In fact – one of the women in our group talked about that exact situation.
“When you are a mom, you are the one that plans it (vacations), the one that makes sure everyone has everything, the one to make sure everyone is happy all the time. But I make everyone happy but me. And this is about me. “ –Jillian
When you hit the road with an all-female crew, you get the rare opportunity to ditch the daily script and truly indulge in some well-deserved “me” time. According to AGC, you get an experience filled with trust, belonging, and connection.
I was surprised to find out that most of the women on my trip were return travelers with AGC. This is consistent with all of AGC’s tours; their repeat travelers really says it all!
I asked a few women on my trip why they keep returning to AGC for more women-only trips.
“It’s the best experience I’ve ever had. I was never a Girl Scout or anything, and I’ve never had the opportunity to go out like this and travel with other women. It is awesome.”
“It’s a judgment-free trip.”
AGC Perks
I’ve traveled with hundreds of travel companies since 2006, and they all are very similar – so when a company does something that stands out to me – I am impressed. Not only did I get a lovely postcard and gift in the mail prior to the trip from the AGC team, but I also had a really helpful phone call from one of our guides prior to the trip.
It was really an excellent way to connect before the trip and have a chance to ask questions about the lodging, packing, and the hikes!
“I’ve never had a company so attentive to detail pre-trip and post-trip. They provide a personal touch that is really missing from other companies.”
In addition – months before the trip they sent emails that provided great training advice. It really helped you understand how hard these hikes would be and encouraged you to train appropriately so that you would be able to enjoy your vacation! I wish more companies would do this when it comes to adventure travel. I think a continued communication with the guests prior to a big adventure trip is really a perk.
Could I have done this all myself and saved money…sure…but I wouldn’t have had nearly as good of an experience or time. It wouldn’t have been a vacation for me. I wouldn’t have made new friends or shared the hard times and the good times. I wouldn’t have learned as much.
It was so rewarding to thoroughly explore the park, and on top of it I could explore with an incredible group of women who were all hiking enthusiasts. It was a week of camaraderie, learning, sharing advice, and making new friends, all in the backdrop of one of our country’s most beautiful parks!
So there you have it – a crash course in hiking Rocky Mountain National Park! Now go forth and confidently explore this natural wonderland (and maybe bring an extra granola bar just in case). Happy trails!
Related
There has never been a better time to plan your next trip and make your Dream vacation a reality . Whether you've been dreaming of relaxing on a sun-kissed beach, exploring ancient cities, or embarking on an epic adventure, now is the perfect moment to make it happen.


")

